So you’ve mastered the basics in MovieMaker or Movavi. You can trim clips. Add music. Throw in transitions. Maybe even spice things up with titles. Now you’re staring at professional tools like Adobe Premiere Pro, DaVinci Resolve, or Final Cut Pro… and feeling a little nervous. Don’t worry. Every pro editor once stood exactly where you are now.
TLDR: Moving from MovieMaker or Movavi to professional editing tools is easier than it looks. The key is to understand timelines, layers, shortcuts, and advanced audio controls. This guide walks you through three beginner-friendly tutorials that bridge the gap. Follow them step by step and you’ll feel like a pro in no time.
Let’s break this down into three simple tutorials. Each one builds on skills you already have. Each one pushes you a little further. Ready?
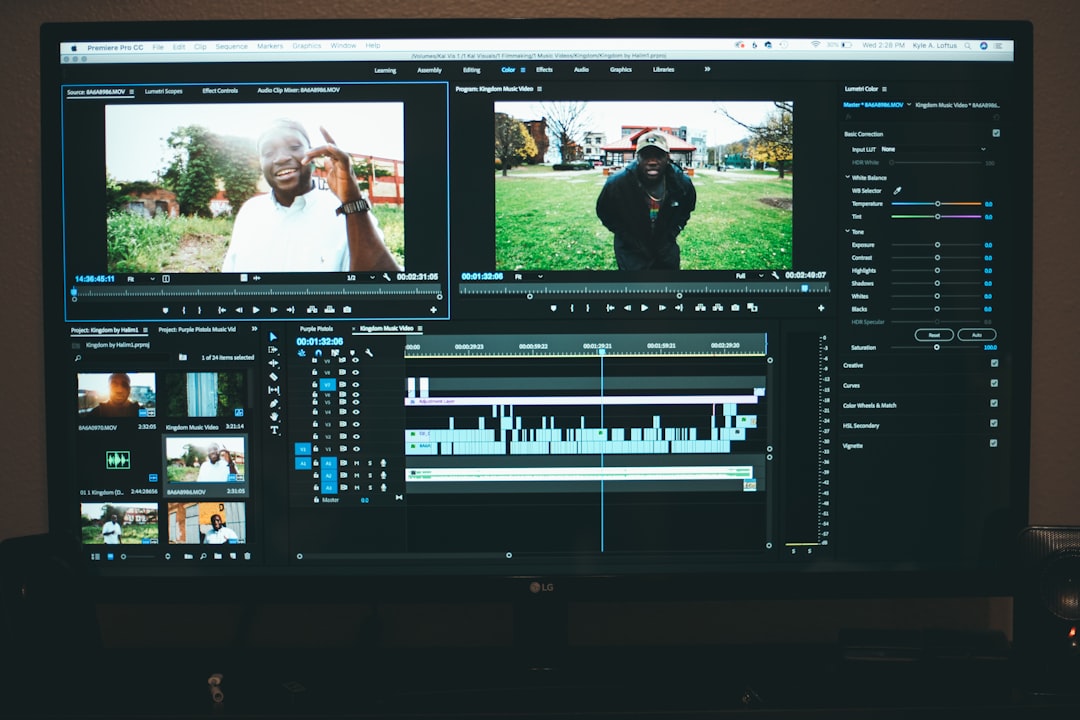
Tutorial 1: Master the Timeline Like a Pro
In MovieMaker or Movavi, the timeline feels friendly. It’s clean. It’s simple. Drag. Drop. Done.
Professional tools? The timeline looks like a spaceship dashboard.
Take a breath. It’s still just layers and clips.
What Changes in Pro Tools?
- Multiple video tracks instead of just one or two
- Advanced audio tracks
- Nested sequences
- Adjustment layers
- Keyframes everywhere
The biggest shift is thinking in layers.
In MovieMaker, you may have stacked a title over a video. In Premiere or Resolve, you can stack:
- Main footage
- B-roll
- Text
- Color filters
- Effects layers
- Graphics
All at once.
Step-by-Step Practice Exercise
Step 1: Import three video clips.
Step 2: Place them on Track 1.
Step 3: Add B-roll on Track 2 above the cuts.
Step 4: Add text on Track 3.
Step 5: Add background music on Audio Track 2.
Notice something?
You are doing exactly what you did before. Just with more control.
Learn These 3 Timeline Superpowers
- Ripple Delete – Removes gaps automatically.
- Snapping – Clips lock together cleanly.
- Zoom Controls – Precision editing becomes easy.
Practice editing a simple 60-second montage. No fancy effects. Just clean cuts.
Professional editing is 80% clean cutting.
Effects are the decoration, not the foundation.
Tutorial 2: Upgrade Your Transitions and Effects Game
MovieMaker and Movavi are known for quick transitions. Drag one between clips. Done.
But in pro software, transitions are more powerful. And more subtle.
The Truth About Professional Transitions
Here’s a secret.
Most professional editors barely use flashy transitions.
They rely on:
- Cut
- Fade
- Cross dissolve
- Motion blur
- Adjustment layers
The difference isn’t more transitions.
It’s controlled transitions.
Exercise: Replace Basic Transitions with Pro Techniques
Pick a video you’ve already edited in Movavi.
Now recreate it in a pro tool.
Instead of:
- Flashy wipe transitions
- Spins
- Zoom spins
Use:
- Cross dissolve with keyframed opacity
- Zoom cut with scale keyframes
- Manual slide using position controls
This is where keyframes become your best friend.
Understanding Keyframes (Super Simple Version)
A keyframe tells your software:
“Start here.”
“End there.”
The software fills in the movement between those points.
That’s it.
With keyframes, you can animate:
- Position
- Scale
- Rotation
- Opacity
- Audio levels
Try this:
Step 1: Add a clip.
Step 2: Set scale at 100%.
Step 3: Move 10 frames forward.
Step 4: Set scale at 110%.
You just created a smooth zoom.
No preset needed.
This is how pros customize everything.
Tutorial 3: Take Control of Audio Like a Real Editor
Here’s where beginners level up fast.
Audio.
MovieMaker and Movavi give you volume sliders. Maybe some fade controls.
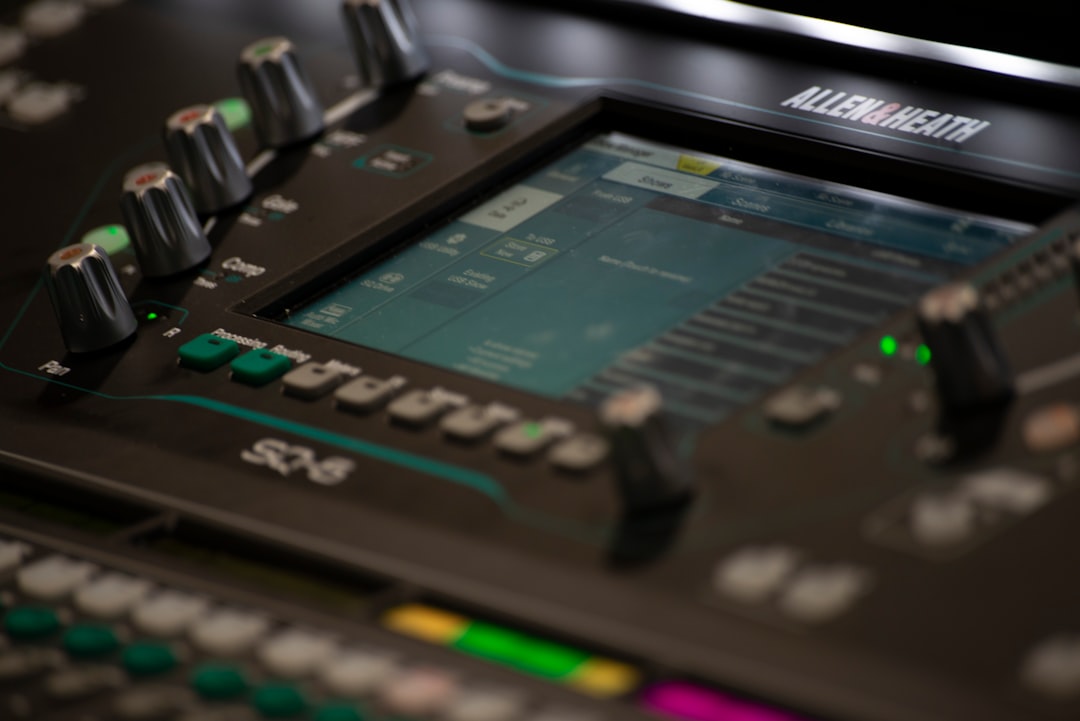
Professional software gives you full mixing boards.
Why Audio Matters More Than Video
Bad video? People forgive.
Bad audio? People click away.
Learning pro audio tools instantly improves your edits.
3 Audio Skills to Practice
1. Keyframe Volume Control
Instead of lowering the entire music track, dip it only when someone speaks.
Add keyframes to reduce music from:
- -6 dB to -20 dB during dialogue
This is called “ducking.”
2. Use Basic EQ
Dialogue sounds muddy?
Reduce low frequencies slightly.
Boost clarity around mid-high frequencies.
Small changes. Big difference.
3. Compression
Compression reduces volume spikes.
Loud sounds get softer.
Quiet sounds get louder.
The result?
Smooth. Professional audio.
Comparison Chart: Beginner Tools vs Pro Tools
| Feature | MovieMaker | Movavi | Pro Tools (Premiere, Resolve, FCP) |
|---|---|---|---|
| Timeline Tracks | Very Limited | Limited | Unlimited |
| Transitions | Preset Based | Preset Based | Fully Customizable |
| Keyframes | Minimal | Basic | Advanced Control |
| Audio Mixing | Basic Volume | Basic Tools | Full Mixer and Effects |
| Color Grading | Filters Only | Basic Presets | Professional Color Wheels and Scopes |
| Export Options | Limited | Moderate | High Customization |
See the pattern?
Pro tools don’t replace your skills.
They expand them.
Mindset Shift: Think Like an Editor, Not a Button Clicker
Beginner tools focus on speed.
Professional tools focus on control.
The transition is not about memorizing everything.
It’s about understanding:
- Why cuts happen
- Why music swells
- Why color changes mood
- Why pacing matters
When you open a pro tool, ignore 80% of the buttons.
Focus on:
- Timeline
- Keyframes
- Audio panel
That’s your power trio.
Simple 7-Day Upgrade Plan
Want structure? Follow this.
Day 1: Recreate a basic Movavi edit in a pro tool.
Day 2: Practice clean cuts only. No effects.
Day 3: Learn ripple delete and trimming shortcuts.
Day 4: Practice keyframe animations.
Day 5: Add music and practice audio ducking.
Day 6: Apply simple color correction.
Day 7: Export in different formats and compare quality.
One week.
Huge improvement.
Final Encouragement
You are not starting from zero.
If you’ve used MovieMaker or Movavi, you already understand:
- Storytelling
- Timing
- Basic pacing
Professional tools simply give you:
- More flexibility
- More polish
- More control
The interface might look intimidating.
That’s normal.
Open the software.
Import a clip.
Make one clean cut.
Congratulations.
You’re already on your way from beginner to pro.