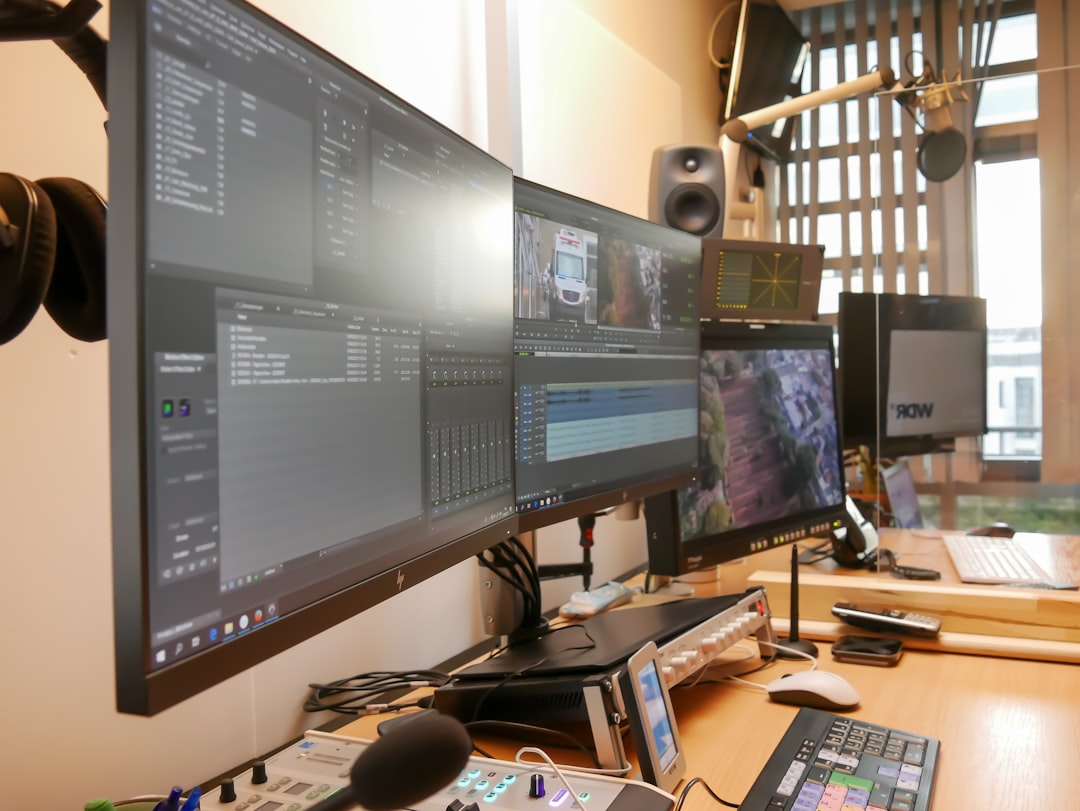
Ever tried editing a video with just your keyboard and mouse? It’s like trying to cook a five-course meal with a single spoon. You can do it… but it’ll take forever, and you might break something out of frustration. That’s where a Video Edit Controller steps in to save your sanity—and your keyboard.
It’s not just a fancy gadget. It’s your new video editing sidekick. Let’s dive into what makes these little buttons, knobs, and wheels your best friend in the editing room.
What Is a Video Edit Controller?
Think of a video edit controller as a remote control for editing software. It replaces repetitive mouse clicks with simple button presses and smooth dials. The result? Cleaner edits, faster workflows, and significantly less hair-pulling.
Imagine having buttons that do what you assign them to do—cut, trim, play, scrub the timeline, apply transitions—all without opening menus. Sounds like heaven, right?

Why Should You Even Care?
Still on the fence? Here’s why getting a video edit controller might just be the best upgrade you can make:
- Speed: Editing with a controller is way faster than hunting for tools in menus.
- Precision: Jog wheels and shuttle knobs let you scroll frame-by-frame like a boss.
- Comfort: Say goodbye to carpal tunnel—your hands will thank you.
- Cool Factor: They look awesome on your desk. You’ll feel like the DJ of post-production.
Make Your Moves Like a Pro
Let’s break down some typical workflows and how a controller makes them better:
1. Trimming Footage
With a keyboard, you’re constantly clicking or holding down keys to trim. With a controller, turn a knob to scroll and hit a button to cut. Boom. Done.
2. Scrubbing Through Timeline
Ever tried scrubbing frame by frame with a mouse? It’s torture. A jog wheel gives you amazing precision. You can find the exact frame where something happens—fast and smooth.
3. Applying Effects
Assign one button to open your effects menu, another to apply your favorite transition instantly. No more dragging files across the screen like you’re painting the Sistine Chapel.

Will It Work With My Software?
Yes! Most modern video edit controllers are designed to work with industry-standard editing software. Let’s break it down:
- Adobe Premiere Pro: Most controllers have built-in support.
- DaVinci Resolve: Some controllers are specifically designed for it.
- Final Cut Pro: Hello Apple lovers—you’re covered too.
- Vegas Pro, Avid, and more: Many controllers come with universal compatibility or programmable buttons.
Many even let you customize buttons per project or software. You’re not locked in.
Top Features to Look For
All controllers aren’t created equal. Keep an eye out for these features:
- Jog and Shuttle Wheel: Your new timeline navigating best friend.
- Programmable Buttons: Set these up to match your unique workflow.
- LED Indicators: Know what mode or tool you’re using at a glance.
- Multi-Software Support: Future-proof your purchase.
- Ergonomic Design: Your wrists will thank you after a 12-hour edit session.
Let’s Talk Budget
You don’t need to sell a kidney to get one. Controllers come in all price ranges:
- Budget ($50–$150): Great for beginners. Compact, simple, and does the job.
- Mid-Range ($150–$400): More buttons, better feel, and added functionality.
- Pro ($400 and up): Designed for full-time editors. Tons of features, buttery-smooth jog wheels, and customization galore.
Your choice depends on how much editing you do and how fast you want to get it done.

Popular Models Worth Checking Out
Curious what the pros are using? Here are a few favorites:
- Blackmagic Design Speed Editor: Perfect for DaVinci Resolve. Beautiful layout, super functional.
- Loupedeck+ or Loupedeck CT: Known for customization. Good with Premiere and Final Cut.
- Contour Shuttle Pro v2: Affordable and works with tons of software.
- Elgato Stream Deck: Not a traditional controller, but amazing for hotkeys and macros.
Whichever you choose, make sure it fits your editing style and software.
How to Set It Up (Without Losing Your Mind)
Controllers may look intimidating—but setup is usually a breeze.
- Install driver software or editing plugin that comes with it.
- Connect via USB or Bluetooth depending on model.
- Open your editing software and map functions to buttons.
- Test it out. Make tweaks for comfort and speed.
That’s it! You’re ready to edit with the speed of light (well, close enough).
Tips to Maximize Your Controller
Once you get the hang of it, here’s how to get even more juice out of your controller:
- Create Profiles: One for fast cutting, one for color correction. Easy switching saves time.
- Label Your Buttons: Some come with stickers or LED screens. Use them!
- Practice Like a Gamer: Muscle memory is key; the more you use it, the better you get.
- Revisit Hotkeys: Learn your software’s shortcuts and sync them into your controller layout.
It’s Not Just for Editing
This device isn’t one-trick. You can repurpose it for:
- Audio mixing (in software like Audition or Logic)
- Photo editing (especially color grading in Lightroom)
- Streaming setups (muting, switching scenes, etc.)
One tool to rule them all? Maybe. At the very least, it’s highly versatile.
Final Cut (The Conclusion)
Video editing should be creative, fun—and fast. You shouldn’t feel like you’re battling your software. A video edit controller is your shortcut to smoother edits, less fatigue, and way more productivity.
Stop mashing random keys and screaming at your screen. Add a controller to the mix, level up your craft, and make editing something you actually enjoy.
Your keyboard deserves a break. And so do your nerves.
