
Threshold photo editing sounds like a science lab trick. It is not. It is a fast way to turn a normal photo into bold black and white art. Think posters, stickers, album covers, zines, and dramatic profile pictures.
TLDR: Threshold editing turns every pixel into either black or white. No gray. No soft middle. For example, a portrait with strong side light can become a striking stencil in under 5 minutes. In a simple social test, you might post 3 versions of the same image and see the threshold version get 20% more saves because it looks cleaner and louder.
What Is Threshold Photo Editing?
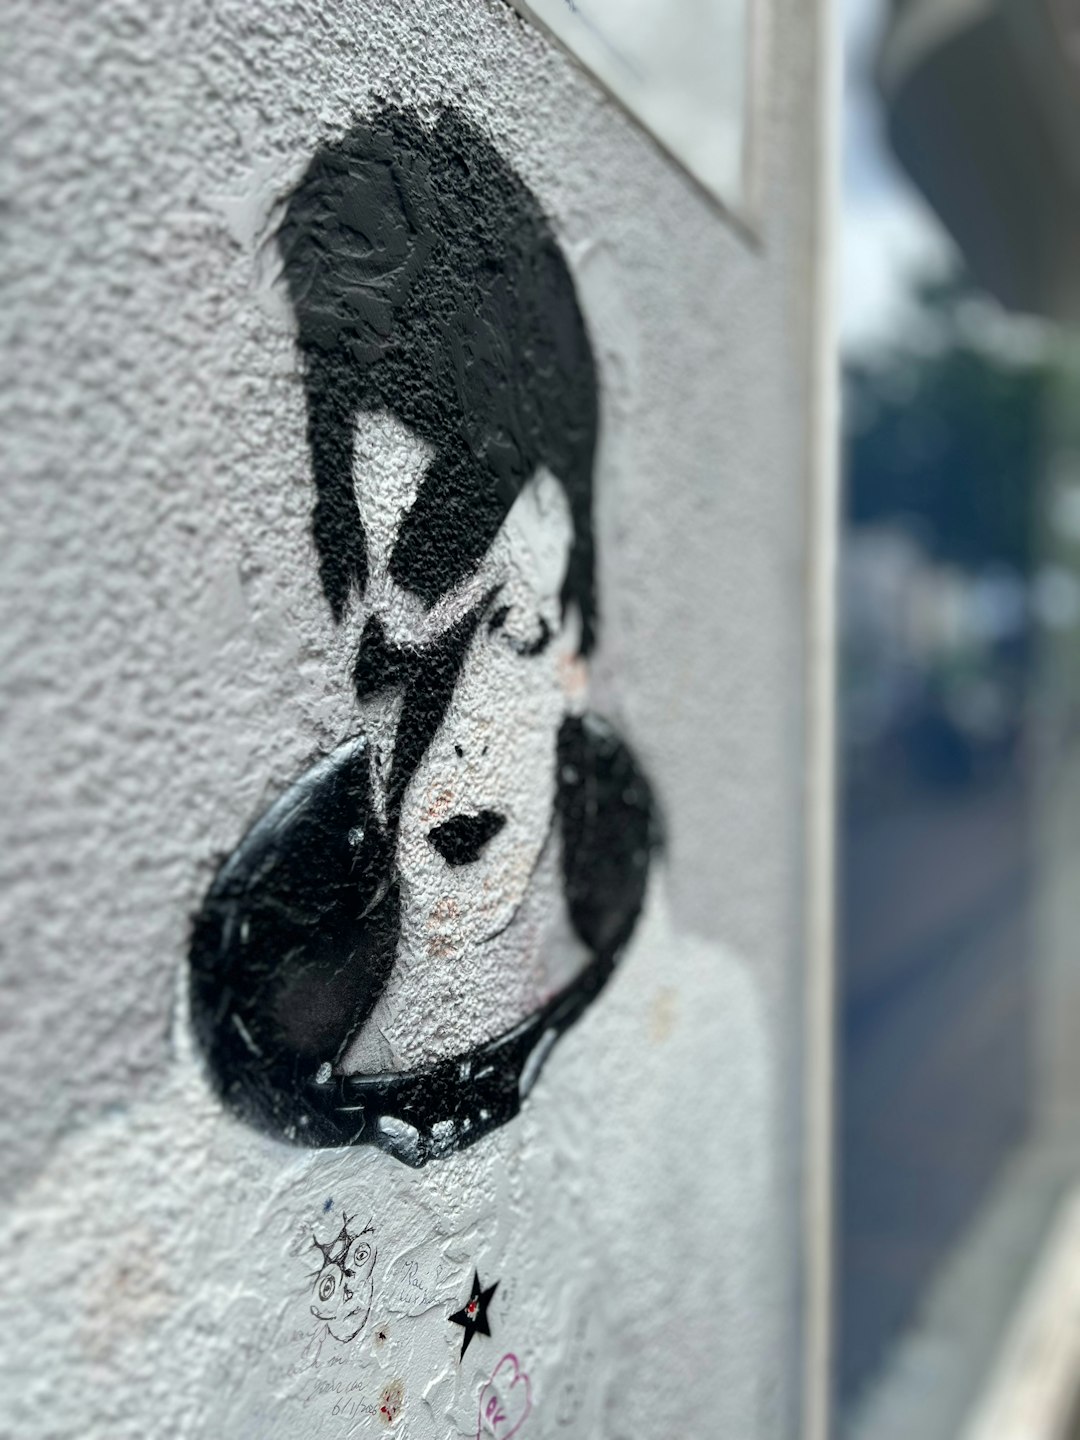
Threshold is a photo effect that splits an image into two tones. Usually, those tones are pure black and pure white. The tool looks at the brightness of each pixel. If a pixel is lighter than your chosen point, it becomes white. If it is darker, it becomes black.
That chosen point is called the threshold level. Move it one way and the image gets darker. Move it the other way and it gets lighter. Simple.
The result can feel like a comic panel. Or a punk flyer. Or a screen print. It has punch. It has attitude. It says, “I know what I am doing,” even if you just clicked one slider.
Why Threshold Art Looks So Cool
Threshold art works because it removes clutter. The eye only sees shape, contrast, and texture. That makes the image feel bold and graphic.
It is also very flexible. You can use it for:
- Portraits with strong shadows.
- Product shots that need a sharp poster look.
- Band artwork with rough energy.
- Street photos with gritty detail.
- Logos and icons based on real photos.
- T shirt designs that need clear shapes.
The best part is this. You do not need advanced editing skills. You need a good photo, a threshold tool, and a little patience.
Pick the Right Photo First
Not every photo becomes magic with threshold. Some turn into a confusing blob. That is okay. The trick is to start with a strong image.
Look for these features:
- Clear subject: A face, hand, animal, building, or object.
- Strong lighting: Side light works very well.
- Good contrast: Dark areas and bright areas help a lot.
- Simple background: Less mess means better artwork.
- Sharp focus: Blurry photos lose detail fast.
A portrait near a window is a great start. A dog in direct sunlight can work too. A city skyline at sunset can look amazing. A photo of beige soup under flat kitchen light? Maybe not.
How to Create Threshold Artwork
You can do this in many editing apps. The names may change a little. The idea stays the same.
- Open your photo. Choose one with clear light and shadow.
- Make a copy. Keep the original safe.
- Convert to black and white. This helps you judge the tones.
- Add the Threshold effect. Find it in adjustment tools or filters.
- Move the slider. Watch how the shapes change.
- Stop when the subject is clear. Do not chase every tiny detail.
- Clean up the image. Paint away messy dots or unwanted marks.
- Export your art. Save it as PNG for clean edges.
That is the core method. It is quick. But the fun starts when you style it.
Use Contrast Before Threshold
Here is a tiny secret. Threshold works better when you prepare the photo first.
Before adding the threshold effect, adjust the image. Raise the contrast. Make shadows deeper. Make highlights brighter. This gives the threshold tool better information.
You can also use curves or levels. Do not worry if those sound scary. They are just brightness controls with fancy names. Push dark tones down. Push light tones up. Then apply threshold.
If the face disappears, lower the threshold level. If the image looks too pale, raise it. If one side looks perfect and the other side looks odd, use a brush to fix small areas.
Clean Up the Messy Bits
Threshold can create random specks. These little dots may look cool. Or they may look like digital dandruff. You decide.
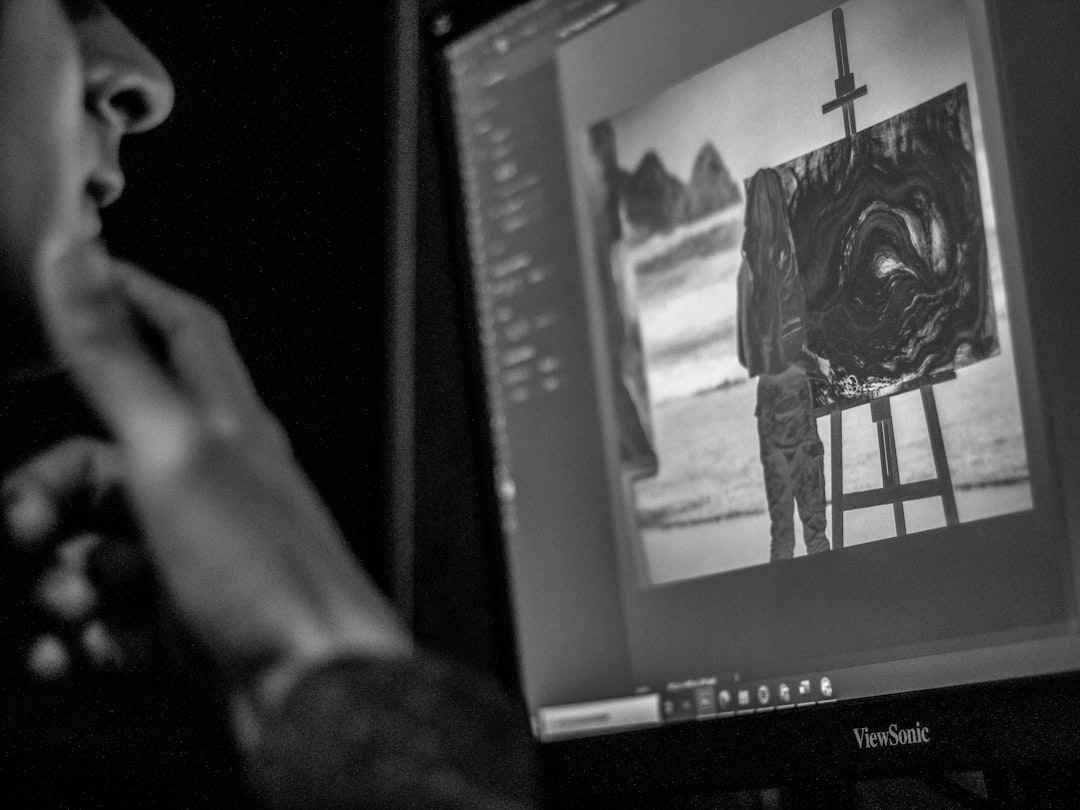
Use a brush tool to clean the image. Paint in white to remove unwanted black marks. Paint in black to restore important shapes. Work slowly. Zoom in. Then zoom out often.
Ask yourself simple questions:
- Can I still understand the subject?
- Are the eyes clear?
- Is the outline strong?
- Are the important shadows visible?
- Does the image look bold from far away?
If yes, you are close. If no, keep shaping.
Add Style Without Making It Busy
Pure black and white is classic. But you can push the artwork further.
Try these simple ideas:
- Add one color: Use red, yellow, blue, or neon green.
- Place it on a solid background: This creates a poster feel.
- Add rough texture: Make it look printed or photocopied.
- Use large text: Great for events, quotes, or music art.
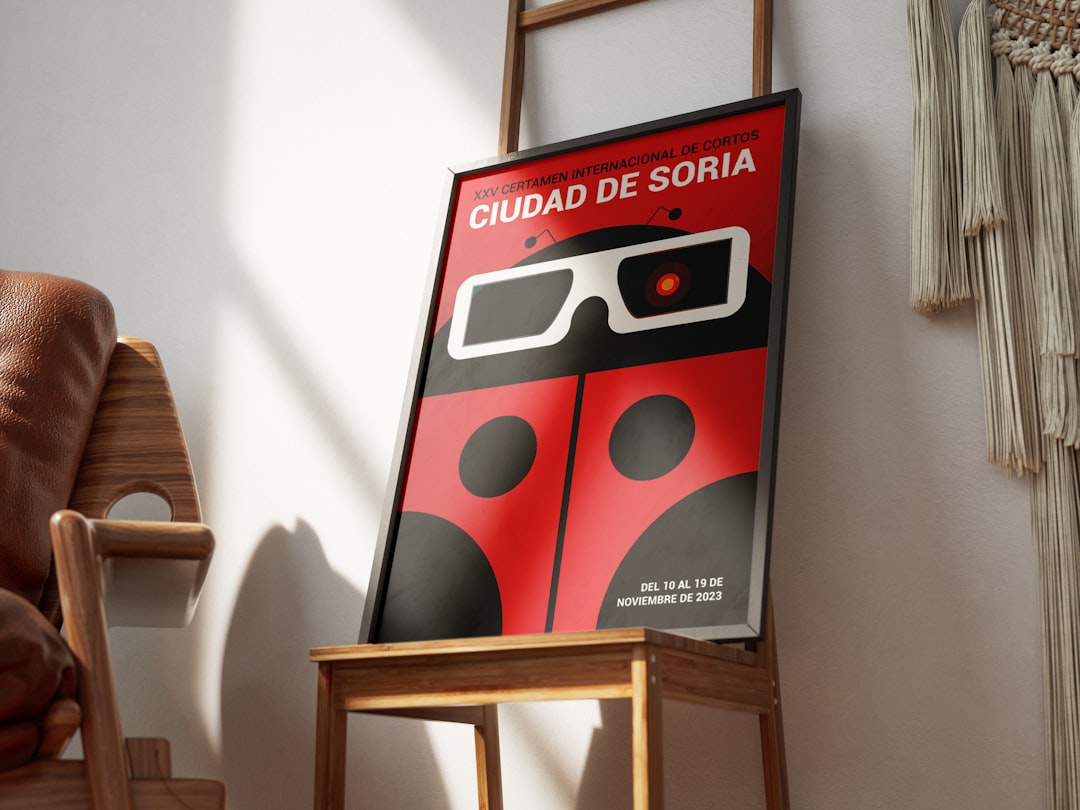
- Cut out the subject: Turn it into a sticker style graphic.
Keep it simple. Threshold art is powerful because it is direct. Too many effects can weaken it. Let the black and white shapes do the heavy lifting.
Common Mistakes to Avoid
Threshold editing is easy. But a few mistakes can ruin the result fast.
- Using a flat photo: No contrast means weak shapes.
- Keeping too much detail: Tiny marks can make the art noisy.
- Losing the main subject: The image should read quickly.
- Ignoring the background: A busy background can swallow the subject.
- Over editing: More filters do not always mean better art.
Here is a good rule. If the image looks strong as a small thumbnail, it will probably work well as a poster or social post. If it only works when zoomed in, simplify it.
Fun Project Ideas
Need a reason to try this today? Pick one of these mini projects.
- Make a profile picture: Use a close portrait with side light.
- Create a pet poster: Threshold a photo of your cat or dog.
- Design a phone wallpaper: Add one bright color behind the art.
- Build a music cover: Use a dramatic face and bold type.
- Make a sticker: Cut out the image and add a thick border.
Set a timer for 15 minutes. Make three versions. One dark. One balanced. One light. Compare them side by side. The best version is usually the one with the clearest shape.
Final Tips for Better Results
Use large images when possible. High resolution gives cleaner edges. Start with good light. Strong shadows are your friend. Try faces turned slightly to the side. They often create better shapes than straight on photos.
Do not be afraid of empty space. White areas can make the black areas feel stronger. Also, do not worry if the first try looks strange. Move the slider. Change the contrast. Clean a few spots. Suddenly, the image may pop.
Threshold photo editing is a tiny tool with a huge personality. It can make a boring photo feel bold. It can turn a selfie into a stencil. It can turn a street shot into a zine cover. Best of all, it is fast, fun, and easy to learn.
So grab a photo with attitude. Push it into black and white. Slide that threshold control. Then enjoy the drama.