Capturing jaw-dropping action sequences with a GoPro in 4K resolution is an exhilarating experience. However, shaky footage can ruin even the most epic adventures. Whether you’re mountain biking, snowboarding, or exploring a new city, the excitement often comes with motion that your camera can’t automatically stabilize. Fortunately, beginners can use a few straightforward techniques and tools to quickly improve their footage. This guide will walk you through how to fast stabilize shaky GoPro 4K footage — easily and effectively.
Why GoPro Footage Gets Shaky
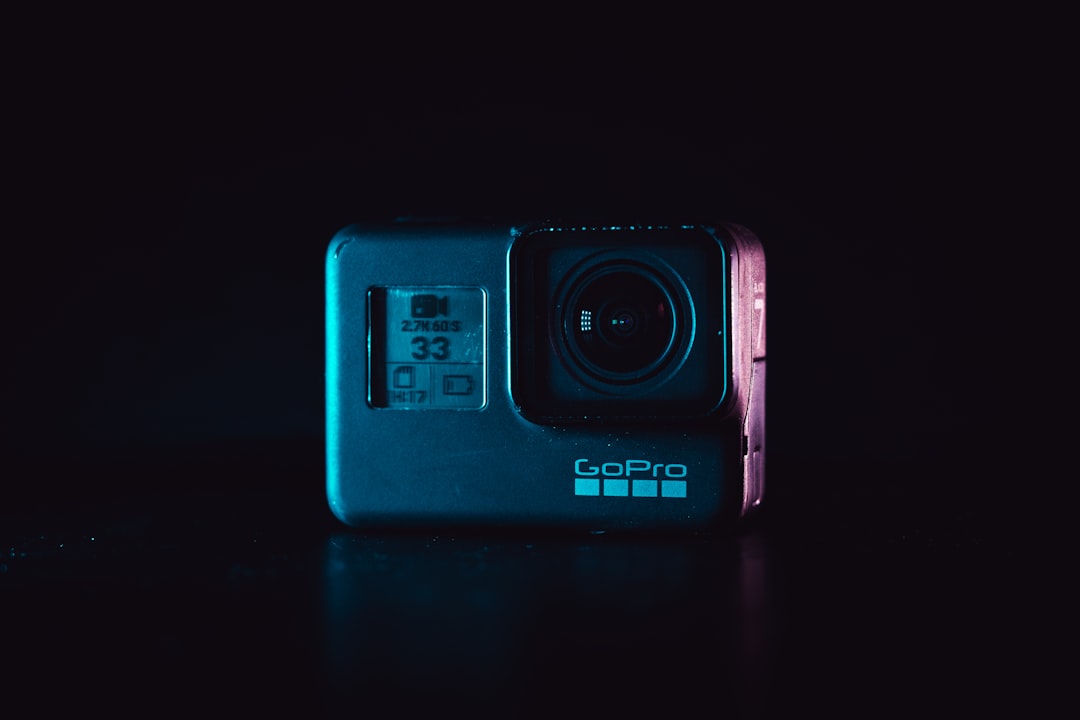
GoPro cameras like the GoPro HERO series are designed for high-action environments. With compact bodies and wide-angle lenses, they are perfect for fast movement, but this also makes them susceptible to shakiness, especially in 4K where every detail — including jitter — becomes more visible.
Although newer GoPro models offer built-in stabilization features like HyperSmooth, many users still shoot with earlier models or prefer to turn off stabilization to save battery or maintain a wide field of view. That’s why post-production stabilization is often necessary.
Quick Steps for Stabilizing GoPro 4K Footage
1. Choose the Right Software
For fast results, beginners should start with user-friendly video editing software. Some recommended options include:
- Adobe Premiere Pro – Offers powerful stabilization tools through the Warp Stabilizer effect.
- Final Cut Pro – Great for Mac users and includes a simple stabilization toggle.
- DaVinci Resolve (Free & Paid) – Offers professional-grade stabilization features at no cost.
- GoPro Quik – Ideal for ultra-fast edits and basic stabilization, especially useful if you’re new to editing.
2. Import and Analyze Your Footage
Once you’ve selected your software, import the 4K footage. Choose the clips that need stabilizing and load them into the timeline. Software like Premiere Pro and DaVinci Resolve will usually require you to analyze the footage before applying the stabilization algorithm. This step allows the software to detect motion and correct it accordingly.
3. Apply Stabilization Effects
Use the built-in stabilization feature available in your chosen software:
- In Premiere Pro: Select your clip, go to the Effects panel, and drag the Warp Stabilizer onto your video. Allow it to analyze and apply the changes.
- In Final Cut Pro: Open the Inspector and enable “Stabilization” under the Video tab. Adjust smoothing and roll settings if needed.
- In DaVinci Resolve: Navigate to the Color page, select the clip, and enable Stabilization under the Stabilizer palette.
4. Adjust Settings for Best Results
Depending on how shaky your footage is, you might need to tweak a few settings:
- Smoothness – Increasing this creates a more pronounced stabilization effect but may also crop your footage more.
- Method – Some software allows choosing between position, perspective, or warp-based stabilization.
- Crop Ratio – Adjust to find a balance between stability and frame content.
5. Export the Stabilized Video
Once you’re satisfied with the results, export the video at your desired resolution. Remember to maintain high-quality settings to preserve the 4K detail. Most platforms like YouTube or Instagram accept 4K outputs, so feel free to showcase your stable footage proudly.
Tips for Preventing Shaky Footage During Recording
- Use a Gimbal: A handheld stabilizer can dramatically reduce shake.
- Attach the Camera Securely: Use chest mounts, helmet clips, or handlebar mounts to minimize vibration.
- Shoot at Higher Frame Rates: Shooting at 60fps or higher provides more data for stabilization and smoother edits later.
- Enable GoPro’s In-Camera Stabilization: Use HyperSmooth if available to reduce the need for heavy editing later.
Conclusion
Stabilizing GoPro 4K footage doesn’t have to be a complex task, especially for beginners. By using accessible software and learning a few basic techniques, anyone can turn jittery shots into professional-looking videos. Whether you’re making a travel vlog or compiling a sports montage, stabilization is the hidden key to visual polish.
FAQ
- Q: Can I stabilize GoPro footage on my phone?
A: Yes, using the GoPro Quik app or mobile editing apps like LumaFusion or Adobe Premiere Rush, you can apply basic stabilization on your phone. - Q: Why does stabilization crop my video?
A: Software stabilization works by zooming in slightly to allow frame shifting and reduce motion. This crop ensures smoother results but may cut off edges of your frame. - Q: Does stabilizing reduce my 4K quality?
A: Not necessarily. Most modern software preserves resolution well, but excessive stabilization or too much cropping can impact clarity. Use gentle settings for best results. - Q: Are there free tools to stabilize GoPro footage?
A: Yes, DaVinci Resolve offers professional-grade stabilization for free. GoPro’s own Quik app also provides simple one-tap fixes without cost.