Creating a case study video doesn’t have to be expensive or complicated. In fact, you can do it completely free and still make it look professional. Whether you’re trying to showcase a client success story or highlight the power of a product or service, you’re in the right place.
This guide will walk you through how to make your very own case study video without spending a dime. Let’s jump right in!
Step 1: Plan Your Story
Behind every great case study video is a great story. You need to keep it simple, but impactful. Ask yourself:
- What problem did the customer face?
- How did your product or service help?
- What was the final result?
Sketch it out like a mini movie. Beginning. Middle. End.
Step 2: Gather Your Tools
Here’s the cool part. You probably already have what you need:
- Smartphone or webcam – Modern phones shoot amazing video!
- Free editing software – Try DaVinci Resolve, CapCut, or Clipchamp.
- Screen recording tools – OBS Studio is a great free choice.
- Royalty-free music – Head to Mixkit or YouTube Audio Library.
Don’t worry, no fancy gear needed. Just your creativity and enthusiasm.
Step 3: Record the Interview
This is the heart of your video. Interview your happy customer. Keep the setting quiet and the lighting decent. Natural light from a window works wonders.
Some great questions to ask:
- What challenges did you face before?
- How did you find our product or service?
- What has changed since using it?
- Would you recommend it?
Let them speak naturally. Real, honest stories are more powerful than perfect delivery.

Step 4: Add B-Roll
B-roll is the fun, supporting footage that gives your case study video some style. Here are some easy ways to add B-roll:
- Use screen recordings of the product or results
- Show behind-the-scenes clips
- Add images of reports, charts, or success stats
- Slip in photos of the customer using your service
No B-roll? No problem. Use stock footage from sites like Pexels or Pixabay – all free!
Step 5: Edit Like a Pro (Without Being One)
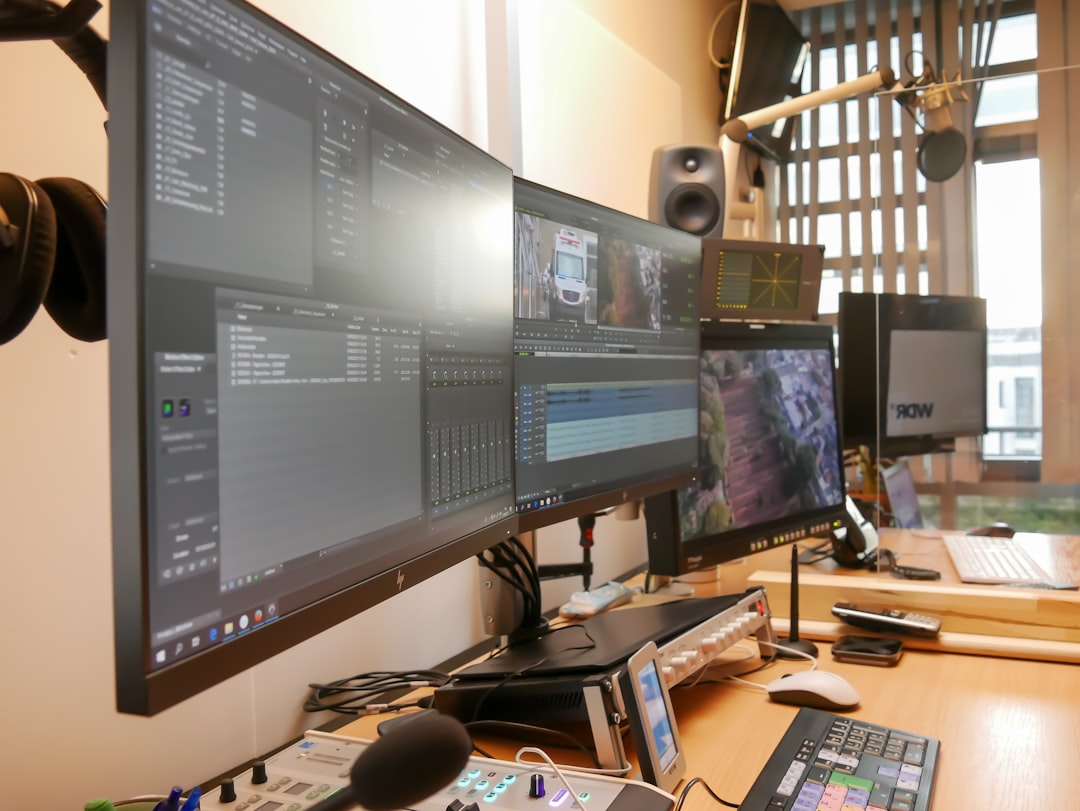
Time to bring it all together. Open up your free editing software and start piecing the video together.
Pro tips for clean editing:
- Keep it short – Aim for 2 to 3 minutes max
- Use text overlays to highlight key quotes
- Add light music – but make sure it’s not distracting
- Include your brand colors or logo at the end

Step 6: Share and Celebrate
All done? Fantastic! Now hit that upload button. Share your video on:
- YouTube
- Instagram or TikTok
- Your website
Tag your customer if possible. They’ll love being in the spotlight!
Bonus Tips
Want to go the extra mile? Here are some free tricks:
- Use Canva to add animations or title cards
- Transcribe the video using free tools for SEO and accessibility
- Pull quotes from the interview and turn them into social posts
You’re Ready!
See? You don’t need a big budget or a Hollywood crew. Just a good story, some free tools, and a bit of time. Start with one video, and you’ll be hooked.
So grab your phone, hit record, and share something awesome!
