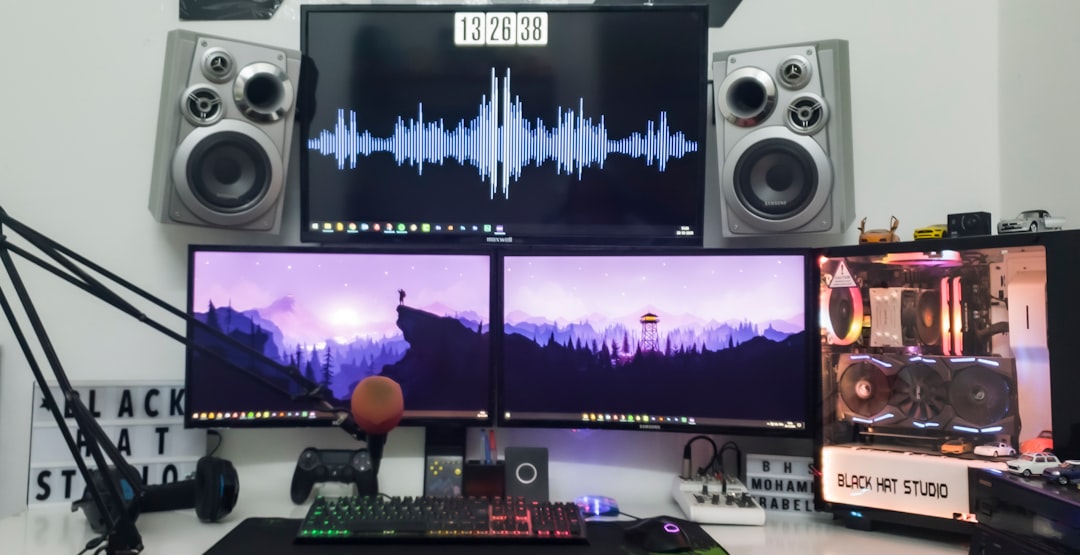
Have a voice recording that needs a little touch-up magic? Whether it’s a podcast blooper, a garage band jam, or your dog’s unexpected cameo in your singing session — editing can make it cleaner and crisper. If you’re on a Windows computer, you’re in luck. Editing audio is easier than you think!
Step 1: Choose the Right Tool
Windows doesn’t come with a full-blown voice editor, but there are great free options out there. One of the most popular is Audacity. It’s powerful, free, and pretty easy to use.
- Go to the official Audacity website.
- Download and install it for Windows.
- Open the program. You’re ready to start editing!
Step 2: Open Your Voice Recording
This part is simple:
- Launch Audacity.
- Click on File > Open.
- Select your recording file (WAV, MP3, or more).
Ta-da! Your audio wave will display like a funky mountain range on screen.

Step 3: Trim the Unwanted Parts
Got some awkward silence or background noise at the start or end?
- Click and drag your mouse to highlight the part you want to cut.
- Hit the Delete key.
You can also zoom in using the magnifying glass icons to get super precise.
Step 4: Cut Out Mistakes or Background Noise
Made a mistake halfway through your amazing monologue? No problem.
- Just highlight the oops-section.
- Again, press Delete.
Want to reduce background noise? Try this cool trick:
- Select a bit of silence where only the background noise plays.
- Go to Effect > Noise Reduction.
- Click Get Noise Profile.
- Now, select the whole track.
- Go back to Effect > Noise Reduction and click OK.
Goodbye noisy fan. Hello clarity!
Step 5: Add Fun Effects (Optional but Awesome)
You can add effects to spice things up:
- Amplify: Make it louder or softer.
- Equalization: Adjust bass and treble.
- Echo: Fancy superhero vibes?
Just highlight the part you want to jazz up, go to Effect, and choose your flavor.

Step 6: Save or Export Your Edited Audio
All done editing? Time to wrap it up!
- Click on File > Export.
- Select the format you want (MP3 is the most common).
- Give it a cool name. “Podcast_Episode_1_Final.mp3” definitely sounds professional!
Audacity will do the rest. You’ve now got a cleaner, cooler audio file ready for the world.
Bonus Tips to Sound Like a Pro
- Record in a quiet room with soft surfaces (like carpets or curtains).
- Use headphones while editing to catch tiny glitches.
- Don’t over-edit. Natural is nice!
Other Cool Tools You Can Try
Audacity not your vibe? Here are a few alternatives:
- OcenAudio: Lightweight and beginner-friendly.
- WavePad: Has a free version with solid features.
- Lexis Audio Editor (Windows App): Simple and touch-friendly.
Most of them work in a similar way: import, edit, export.
Editing a voice recording might seem scary, but once you get the hang of it, it’s actually pretty fun. You can go from “meh” to “wow” in just a few clicks. Plus, you now have the power to fix audio hiccups like a real pro!
So pop on those headphones, open up your audio editor, and get to work. Who knows, this might just be your next big hobby!
