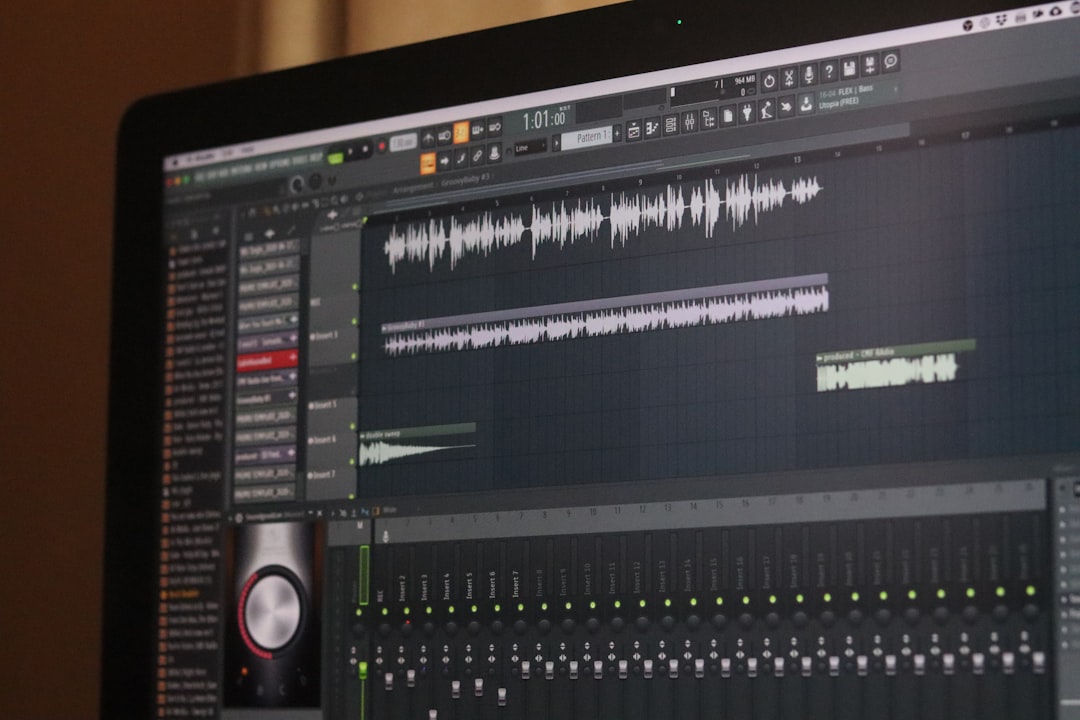
In the realm of digital music production, virtual instruments have become an essential tool for musicians and sound designers. Among the various formats used for virtual instruments, SF2 (SoundFont2) files stand out as a versatile and open-source standard. They allow for high-quality playback of sampled audio, that can be integrated into digital audio workstations (DAWs) and MIDI instruments with ease. On the other hand, sound libraries and virtual instrument packages are often distributed as compressed ZIP archives, especially when downloaded from the internet.
This raises a common question for many producers and composers: how can one convert ZIP archives into SF2 files for use in virtual instruments? The answer to this involves a clear understanding of the contents of these archives and the tools necessary to convert or repackage them into a working SF2 format.
Understanding the Contents of ZIP Archives
ZIP files are simply compressed folders and can contain various file types. In the context of music production, a ZIP folder might include:
- Audio samples (e.g., WAV or AIFF files)
- Mapping files that define how each sample should be triggered (e.g., SFZ files)
- Documentation or instructions for usage
- Configuration files for specific sampler plugins
It’s important to note that the ZIP file itself is not a playable format. Rather, it must be extracted, examined, and its contents properly imported or converted into an audio format usable by your virtual instrument of choice.
Step-by-Step Conversion Process
Converting a ZIP archive into an SF2 file is a multi-step process that can require various software tools depending on the origin of the samples and the level of customization required. Below, we outline the steps involved in a typical workflow.
1. Extract the ZIP Archive
To begin, use a standard decompression utility such as WinRAR, 7-Zip, or macOS Archive Utility to extract the contents of the ZIP file. Take care to maintain the folder structure, as this may affect how files are mapped or organized later in the process.
2. Analyze the Sample Format
After extraction, examine the file types to determine how the samples are organized:
- If you find WAV or AIFF audio samples with no accompanying mapping files, you will need to map them manually.
- If SFZ or EXS files are present, they hold important mapping information that may influence how you build the SF2.
Instruments built with machine-level detail often rely on velocity layers, pitch zones, and looping information—all of which can be embedded in the SFZ or alternative format configurations.
3. Convert or Import to SF2 Editor
To build the SF2 file, you’ll need an SF2 editor. Several free and commercial tools are available, such as:
- polyphone – A cross-platform SF2 editor that allows for detailed construction of SoundFont banks.
- Vienna SoundFont Studio – Initially provided by Creative Labs, it offers classic compatibility with older SF2 tools (Windows only).
Using these tools, begin importing the audio samples and assigning them to key zones corresponding to MIDI notes. If mapping information is available from SFZ or EXS files, you may reference these to automate or guide your mapping workflow, though manual intervention is often necessary.
4. Assign Loop Points and Envelopes
Once your samples are mapped, the next step involves adding musical expressiveness by assigning parameters such as:
- Loop points for sustained sounds (e.g., string or pad samples)
- ADSR envelope settings (Attack, Decay, Sustain, Release)
- Velocity sensitivity
- Filter settings and modulation
This is a critical step in mimicking the dynamics of real instruments, especially for those using the SF2 in performance settings or complex compositions. SF2 editors like Polyphone make this process intuitive by offering detailed graphical interfaces and preview features.
5. Save and Export as SF2
Once the instrument is fully mapped and configured, save your work and export the file in SoundFont2 (.sf2) format. Be sure to test the exported instrument within your preferred DAW or software sampler to ensure compatibility and fidelity.
Integration with Virtual Instruments
After you’ve created your SF2 file, it’s time to load it into a software instrument that supports the SF2 format. Popular SF2-compatible plugins include:
- FluidSynth
- Sforzando (for SFZ files, but not SF2 natively)
- VSTSynthFont
- Kontakt (Note: does not natively support SF2s, but external tools can convert them)
You may also load the SoundFont directly into a MIDI-compatible hardware module or sound engine, depending on your production setup.
Useful Tips for SoundFont Creation
When converting samples from a ZIP archive to an SF2 file, keep in mind a few important tips for efficiency and quality:
- Normalize samples before importing to balance volume levels.
- Edit metadata such as instrument name, author, and copyright inside the SF2 editor.
- Maintain naming consistency so that samples can be easily reassigned if needed.
- Keep backup versions in different stages of development in case you need to revert changes.
Meticulous sample organization and clear labeling can save you hours of work, especially with multi-sampled instruments that include dozens or even hundreds of individual files.
When to Use Alternative Formats
While SF2 is immensely useful, it’s worth evaluating whether a different format like SFZ, NKI (Kontakt), EXS24, or others might be more appropriate based on the software environment you primarily use. For instance:
- SFZ files allow for text-based manipulation and are supported by many modern samplers.
- NKI is required for use with Native Instruments Kontakt—offering advanced scripting options.
- EXS24 is native to Apple Logic Pro users and can be easier to integrate in that environment.
In some cases, it may be more efficient to use utilities like Chicken Systems Translator or Extreme Sample Converter to convert entire libraries between formats, especially if precise scripting and automation are required.
Conclusion
Converting ZIP archives into SF2 files is a valuable skill for musicians and producers looking to harness freely or commercially available sample libraries in a flexible, standardized format. By carefully unpacking, mapping, editing, and exporting your samples into the SoundFont2 format, you unlock a wide range of possibilities for expressive performance and custom instrument design.
Whether you’re building your sample instrument library or adapting resources for specific projects, understanding this conversion process ensures that you can maximize the potential of any sound set you come across. With practice, patience, and the right tools, you can turn raw audio folders into finely-tuned virtual instruments ready for any musical endeavor.