Do you love the nostalgic vibe of old VHS tapes? That fuzzy, grainy, glitchy look that screams retro? You’re in luck. In this guide, you’ll learn how to make your videos look like they traveled back in time—using Adobe After Effects!
TL;DR: Want that retro VHS look? Use Adobe After Effects and stack up effects like color correction, noise, distortion, and digital glitches. Play with blend modes and timing to sell the illusion. Want it fast? There are presets too. But making it yourself is way more fun!
Step 1: Prep Your Footage
Start a new project in After Effects.
Import your video by dragging it into the Project panel. Then create a new composition with that clip.
Tip: VHS was 4:3 ratio and low resolution. Try setting your composition to 640×480 for that authentic feel.
Step 2: Add That Grainy Texture
Old VHS tapes are noisy. Let’s get some of that.
- Right-click in the timeline and go to New > Solid.
- Make it black and the same size as your comp.
- Search for “Fractal Noise” in the Effects & Presets panel and add it to the solid.
Now adjust the Fractal Noise settings:
- Fractal Type: Dynamic
- Contrast: around 200
- Complexity: about 2
Check the box that says Invert. Then, reduce the layer’s opacity to around 20% and switch its blend mode to Overlay.
Now your video looks aged and gritty — score!
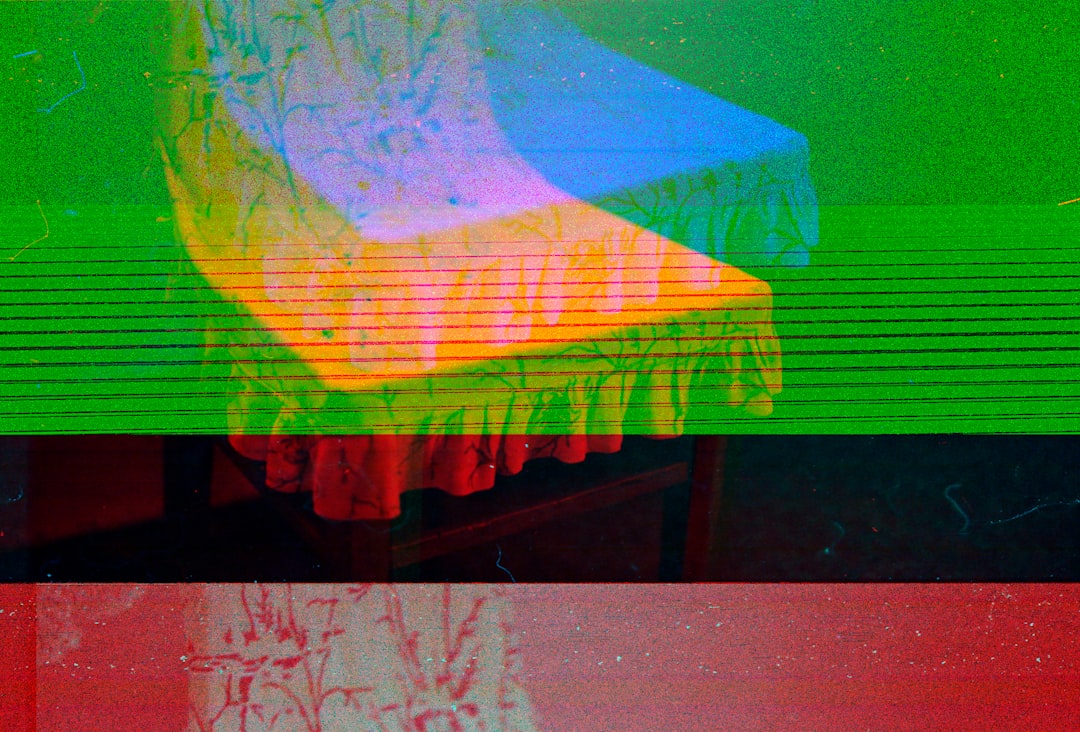
Step 3: Mess with the Colors
Old videos didn’t get the luxury of accurate color. Let’s make it weirder.
Apply the Color Balance (RGB) effect to your video.
Shift the channels slightly.
- Red Balance: +5
- Green Balance: -3
- Blue Balance: +10
This gives that uneven analog color separation.
Now duplicate your video layer two times. You should have three identical layers.
Rename them “Red”, “Green”, and “Blue”.
- On the Red layer, use the Shift Channels effect to keep red only.
- Do the same for Green and Blue layers.
- Set the blend mode to Add for all three.
Offset them by a few pixels using the arrow keys. Boom. Fake RGB split!
Step 4: Add Scan Lines
Scan lines are a dead giveaway that you’re watching ancient footage.
Create a new black solid again. Add the Venetian Blinds effect to it.
Settings:
- Transition Completion: 50%
- Direction: 90 degrees
- Width: 2 or 3
Set the blend mode to Overlay. Now it’s looking crunchy.
Step 5: Shake It Up
VHS players weren’t exactly precision machines. Your footage should be a little… wobbly.
Use Wiggle expressions to simulate the jitter.
Alt+click the stopwatch on the position property of your video and type:
wiggle(1,5)
This makes the video move randomly once per second by 5 pixels.
Feeling bolder? Add a light warp effect too. Try Wave Warp with subtle settings:
- Wave Type: Square
- Direction: 90 degrees
- Amplitude: 1
- Wavelength: 50
You’ll get those minor distortions like tape tracking issues.
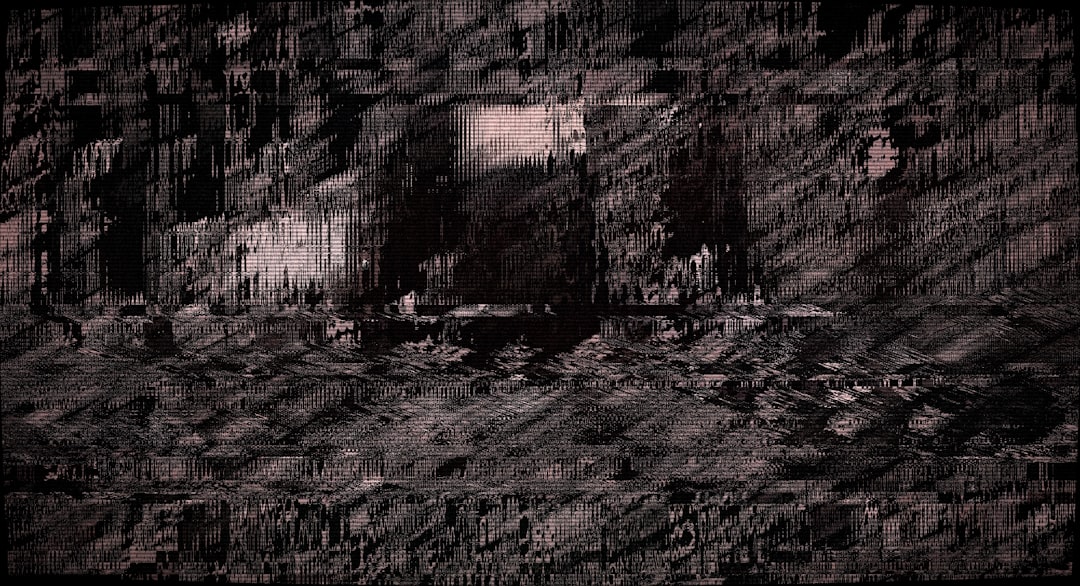
Step 6: Chromatic Glitches (Optional But Cool)
Sometimes you’ll see color flickers or glitched lines in VHS footage.
To add this manually:
- Make a new adjustment layer.
- Add the Displacement Map effect.
- Set the displacement source to one of your color layers.
Play with the horizontal and vertical displacement values. Try random keyframes. This creates warpy, chromatic glitches.
Step 7: Make the Edges Weird
Ever notice how VHS footage fades on the edges? Let’s recreate that.
Create a vignette:
- Make a new black solid.
- Draw a circle mask on it.
- Feather the mask out a lot (like 200px).
- Set the mask to “Subtract”.
- Lower the opacity of the solid to around 30%.
Now your edges look soft and old-school!
Step 8: Add Some Text and a Timestamp
What’s a VHS tape without a timestamp?
Create a text layer with a date like:
DEC 03 1995 07:24 PM
Use a digital display font like OCR A Std or Digital-7.
Add a little glow or blur to mimic screen bleed. Bump up the contrast.
You can also add fake static for when the tape “skips” by animating noise or blocky white shapes.
Bonus: Use a VHS Preset (If You’re in a Hurry)
If you don’t want to build everything yourself, there are free and paid VHS presets online.
Search for:
- “After Effects VHS preset”
- “VHS texture overlay”
- “VCR tape glitch pack”
Just drop them on your clip and tweak as needed. Done!
Final Thoughts
The cool thing about doing a VHS effect in After Effects is that you have total control. You can make it subtle or outrageously glitchy. Try different effects, swap colors, and create imperfections. That’s what sells the vintage vibe!
Remember: VHS wasn’t perfect. And that’s the beauty of it.
So kick back, embrace the analog weirdness, and start distorting that crisp HD footage like it’s 1986 again.
Now go glitch something!