Editing video is no longer the exclusive domain of massive Hollywood studios stocked with multimillion-dollar equipment. With the power packed under the hood of a MacBook Pro, today’s editors—whether working on personal vlogs, corporate promos, or indie films—have the tools they need right at their fingertips. For example, check this AI kissing generator. But it’s not just about having the gear. It’s about knowing how to use it without draining your energy or mental bandwidth. Fortunately, there are workflows, apps, and techniques that can help even amateur producers edit like a seasoned Hollywood pro—without pulling all-nighters or reaching burnout.
Why the MacBook Pro Is a Filmmaker’s Best Friend
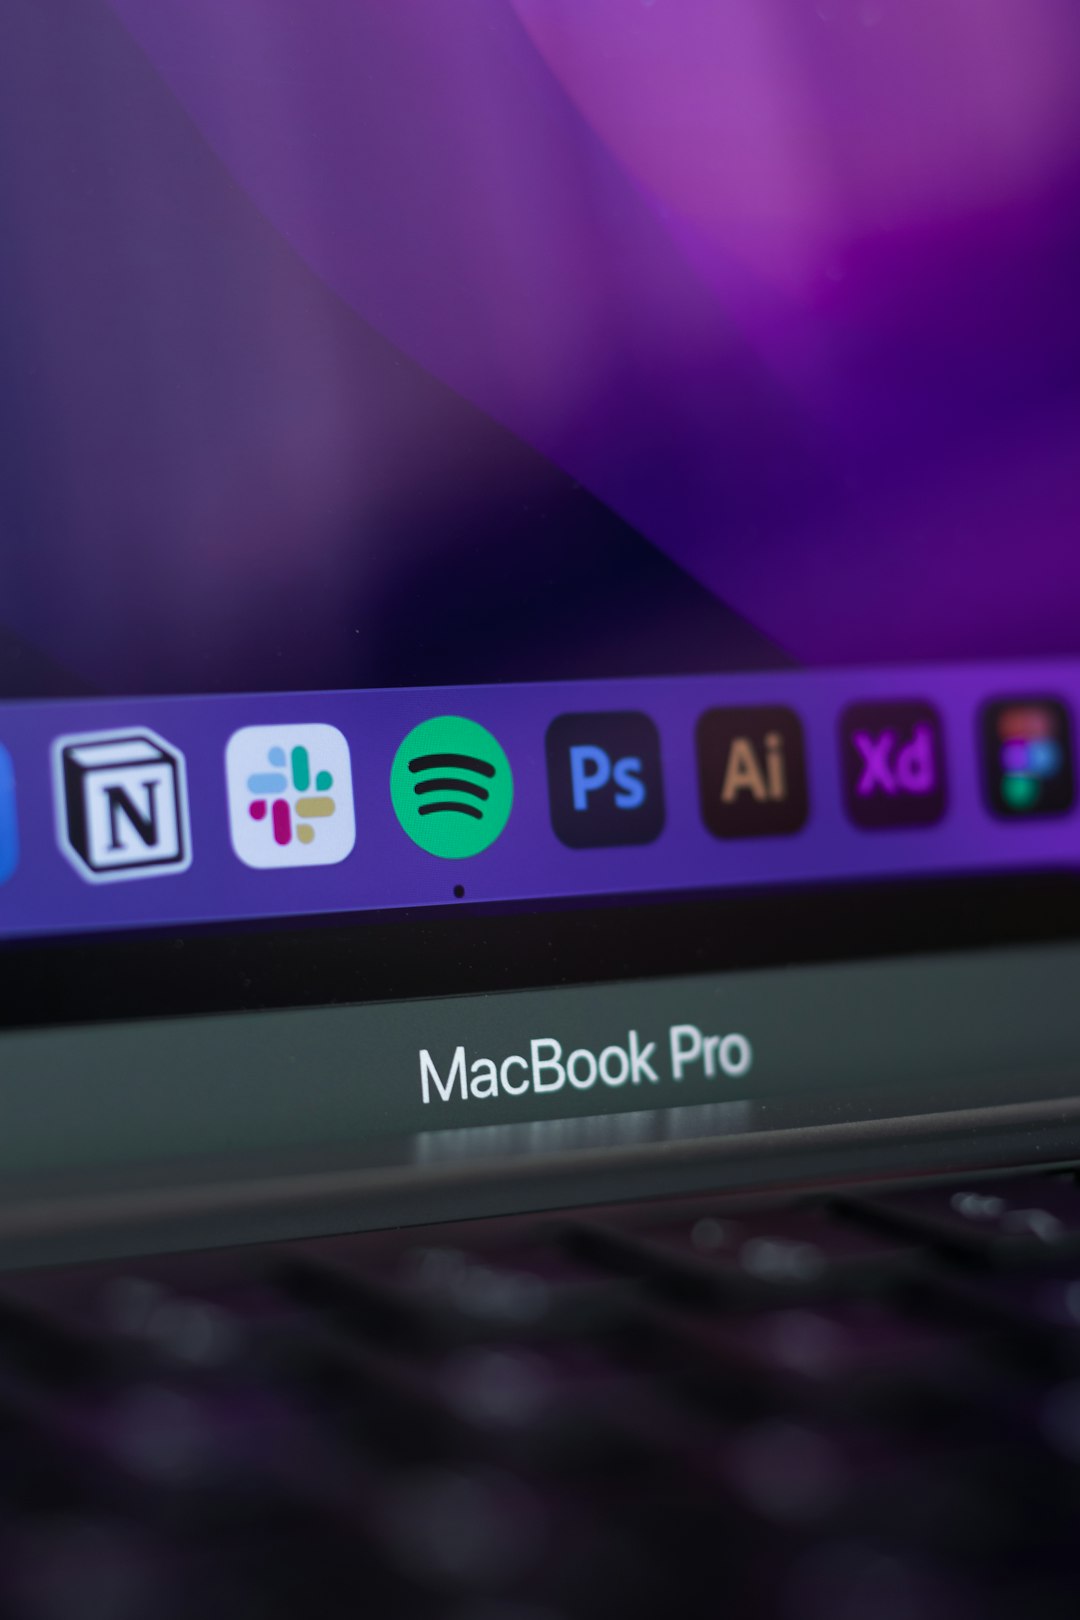
The MacBook Pro has earned its stripes in the creative world, praised by videographers and motion graphics artists alike. With options boasting the powerful M1 Pro, M2 Pro, and M3 Max chips, these machines deliver blazing-fast processing speeds, sustained performance, and battery longevity. Whether you’re editing 4K footage or juggling massive After Effects files, the MacBook Pro handles it all with ease.
Its seamless integration with Final Cut Pro, a favorite among Mac users, combined with the well-calibrated Retina Display, provides an environment tailored for professional-grade video production. The result? Faster rendering, smoother playback, and reduced downtime.
Essential Software for Hollywood-Level Editing
While having a high-performance MacBook Pro is crucial, what truly determines how pro your edits look is the software you choose. Here are a few elite options:
- Final Cut Pro: Designed by Apple, Final Cut Pro is a fast and powerful non-linear editing system. It features magnetic timeline editing, automated cropping, and seamless integration with other Apple apps.
- Adobe Premiere Pro: The industry-standard for many professionals. It’s feature-rich, highly customizable, and perfect for collaborative editing environments.
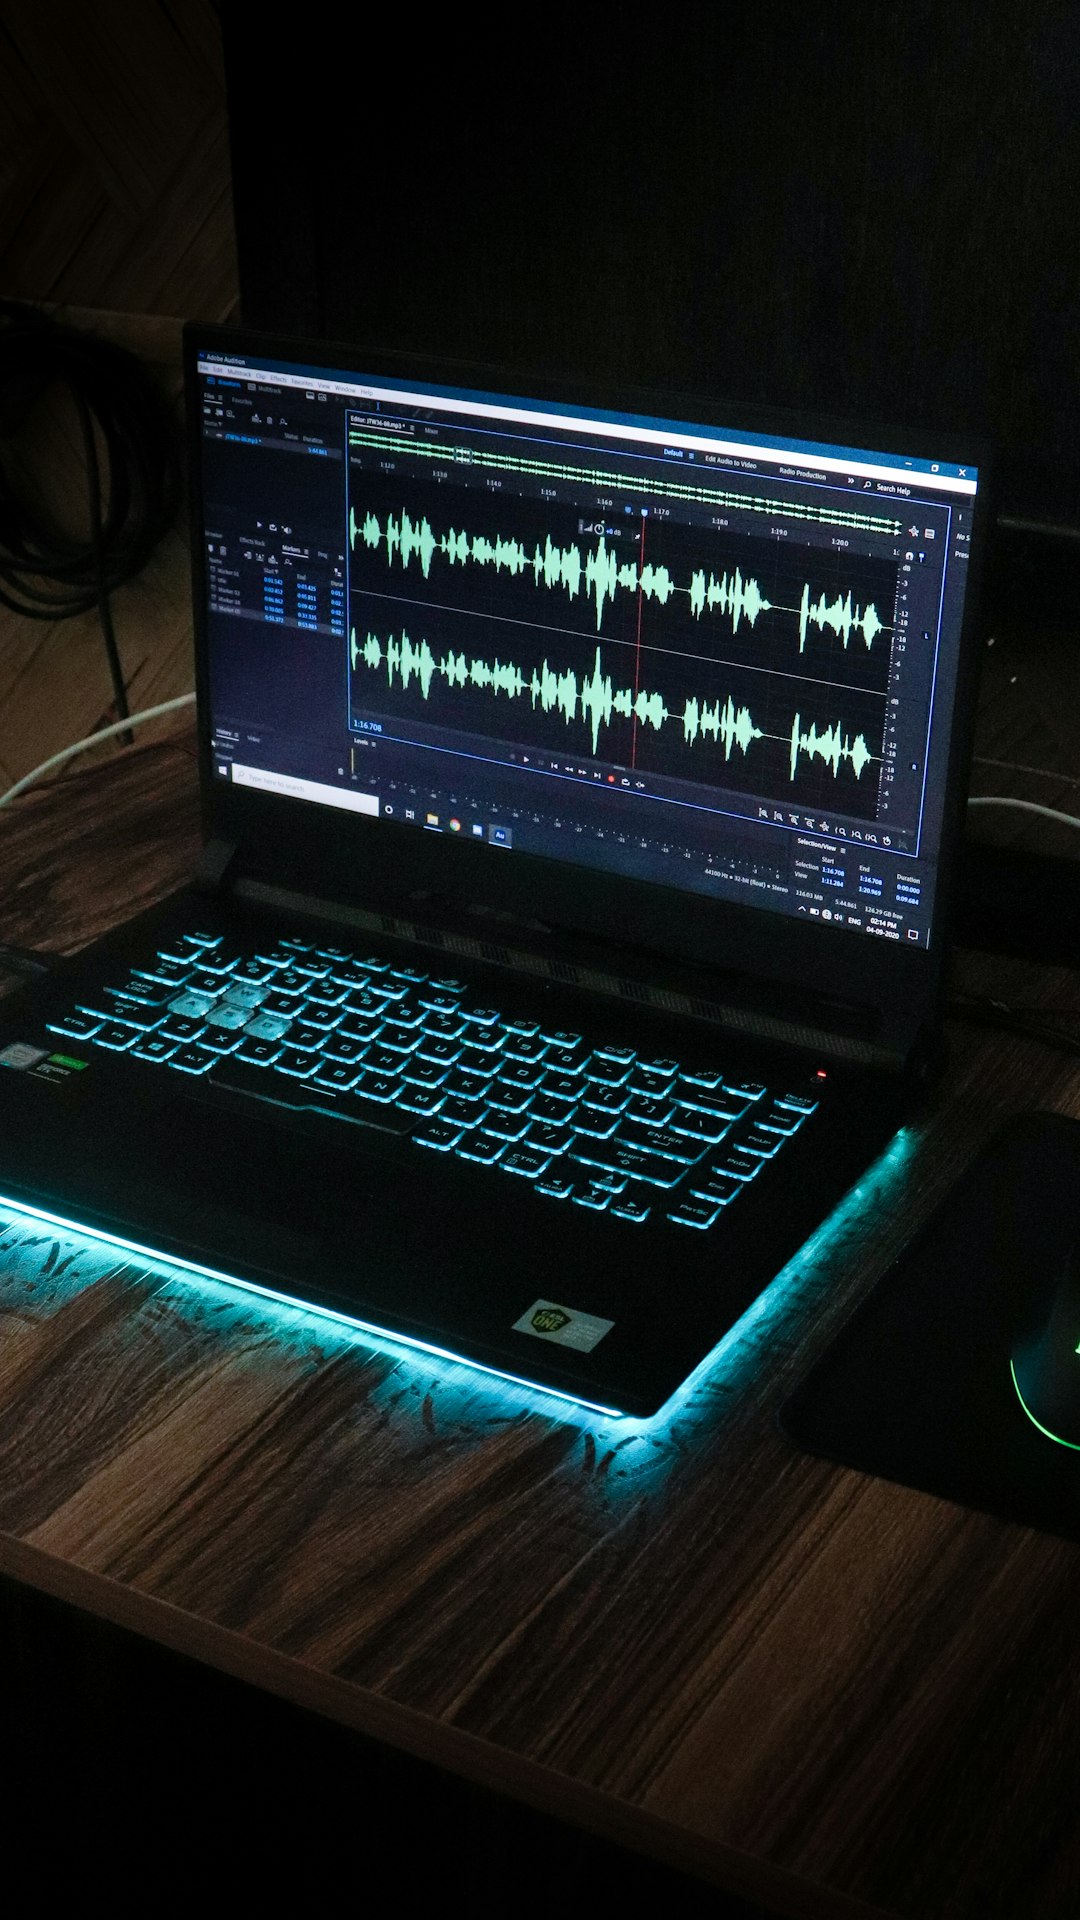
- DaVinci Resolve: Famous for its color grading tools, this all-in-one software combines editing, color correction, visual effects, and audio post-production.
The secret is sticking with the platform that feels most intuitive to you. Don’t be afraid to experiment or even blend features from multiple programs. For example, many editors cut in Final Cut Pro then grade and mix in DaVinci Resolve.
How to Keep Your Sanity While Editing
No one tells you this, but one of the major skills of a professional video editor isn’t just knowing how to keyframe or color-grade. It’s pacing yourself and avoiding burnout. Here’s how to stay productive and sane:
- Organize Before You Edit: Sort your footage, name your files descriptively, and set up a folder hierarchy before launching your editing software. This will save hours later.
- Use Proxy Files: Editing 6K or even 4K footage in native resolution can slow down even the most powerful MacBook. Use proxy files to keep your machine—and your head—cool.
- Preset Everything: From intro titles to color LUTs, having your presets ready cuts a significant chunk out of your workflow.
- Set Timers and Take Breaks: The Pomodoro technique—25 minutes work, 5 minutes rest—is excellent for keeping your mind fresh during long editing sessions.
Also worth mentioning: don’t underestimate the power of sleep. A fresh set of eyes can catch continuity errors or fix pacing issues far better than tired eyes could after eight hours straight.
Hollywood Tricks for a Cinematic Look
Even with the best tools, your video won’t look polished unless you incorporate a few pro techniques. Here are Hollywood’s favorite tricks that you can do right from your MacBook Pro:
- Cinematic Color Grading: Learn basic color theory and use LUTs (Look-Up Tables) to give your footage a distinct tone and mood.
- Aspect Ratio Bars: Add black cinematic bars (usually 2.39:1) to instantly give your project a film-like feel.
- Use Motion Blur and Depth of Field: Whether done in-camera or in post, a sense of motion and selective focus helps your footage feel more immersive.
- Sound Design: Don’t just rely on visuals—sound can elevate the storytelling. Use foley, ambient tracks, and professional audio mixing for depth.
Performance Upgrades and Accessories
More often than not, people overlook external gear that can make editing not only faster but more enjoyable and ergonomic. These aren’t strictly necessary, but here’s what many professionals add to their MacBook setup:
- External SSDs: Invest in a fast Thunderbolt 3 solid state drive for storing raw footage. This improves load times and prevents performance bottlenecks.
- Color-Calibrated External Monitor: While the MacBook Pro’s display is excellent, an external monitor with accurate color can be a game-changer for grading.
- Keyboard Shortcuts and Control Surfaces: Devices like the Loupedeck or Elgato Stream Deck allow you to program editing shortcuts for various software—massive time saver!
Optimizing MacBook Pro Settings for Video Editing
Before diving into your next editing session, be sure your MacBook Pro is optimized for the task. Here are a few quick tweaks:
- Enable High Power Mode: Available on the M1 Max and M2 Max iterations, this mode increases performance for demanding applications.
- Close Background Applications: Free up RAM and CPU usage by closing anything non-essential while editing.
- Use an Editing-Specific User Profile: Set up a macOS profile where only editing software and tools are present. This keeps your workspace distraction-free.
Professional video editing is all about streamlining—both hardware and habits. Knowing what options to enable, and when, can significantly reduce errors and improve your quality of life.
Conclusion: Pro-Level Editing, Minimal Pain
You don’t need a film school degree or a Hollywood budget to create compelling, professional-looking videos. The MacBook Pro is a powerhouse that, when paired with the right software, thoughtful processes, and smart accessories, can be your secret weapon. By avoiding unnecessary stress and working smarter—not harder—you’ll find that great edits come not from sleeplessness, but from clarity and efficiency.

FAQ: Video Editing on a MacBook Pro
- Q: Is the MacBook Pro powerful enough for 4K or 6K video editing?
A: Absolutely. Especially the M1 Pro, M2 Pro, and M3 Max editions offer excellent performance for handling high-resolution footage, rendering effects, and color grading. - Q: What’s the best software for beginners?
A: Final Cut Pro is often recommended for Mac users due to its intuitive interface and fast learning curve. iMovie is also a great starting point for absolute beginners. - Q: Should I upgrade to more RAM or CPU when buying a MacBook Pro for editing?
A: For serious video work, go with at least 32GB RAM and an M1/M2/M3 Pro chip. The more powerful the chip and memory, the better your performance will be. - Q: How important is an external monitor for video editing?
A: While not essential, an external calibrated monitor offers a more accurate color workspace, crucial for advanced grading work. - Q: Does using proxies affect final video quality?
A: Not at all. Proxies are lower-resolution copies used for editing, but the final export uses your full-resolution footage.