
Better video editing starts with one habit: cut for clarity before you cut for style. A polished video is not built from fancy effects first. It comes from clean decisions: what stays, what goes, when the viewer gets a breath, and when the next shot should land.
TLDR: Good editing is about rhythm, clean sound, controlled color, and transitions that serve the story. For example, a 90-second product video can often improve viewer retention by 20% to 40% when dead air, repeated points, and weak audio are fixed. A beginner creator editing a talking-head tutorial might cut 12 minutes of raw footage down to 5 minutes and get a clearer, more watchable result. Start with the cut, then fix pacing, audio, color, transitions, and effects in that order.
1. Start with the story, not the software
Before touching effects, ask one blunt question: What should the viewer understand, feel, or do after watching? If a clip does not support that goal, trim it or remove it.
This applies to every format. A vlog needs movement. A tutorial needs clarity. A commercial needs desire. A wedding film needs emotion. If the edit has no purpose, even crisp 4K footage can feel dull.
- For tutorials: remove hesitation, setup delays, and repeated explanations.
- For social videos: hook the viewer in the first 2 to 3 seconds.
- For interviews: cut around the strongest answers, not the full conversation.
- For travel edits: shape the footage around mood, location, and movement.
The first cut should be rough. Do not obsess over tiny trims yet. Build the structure first. Then refine.
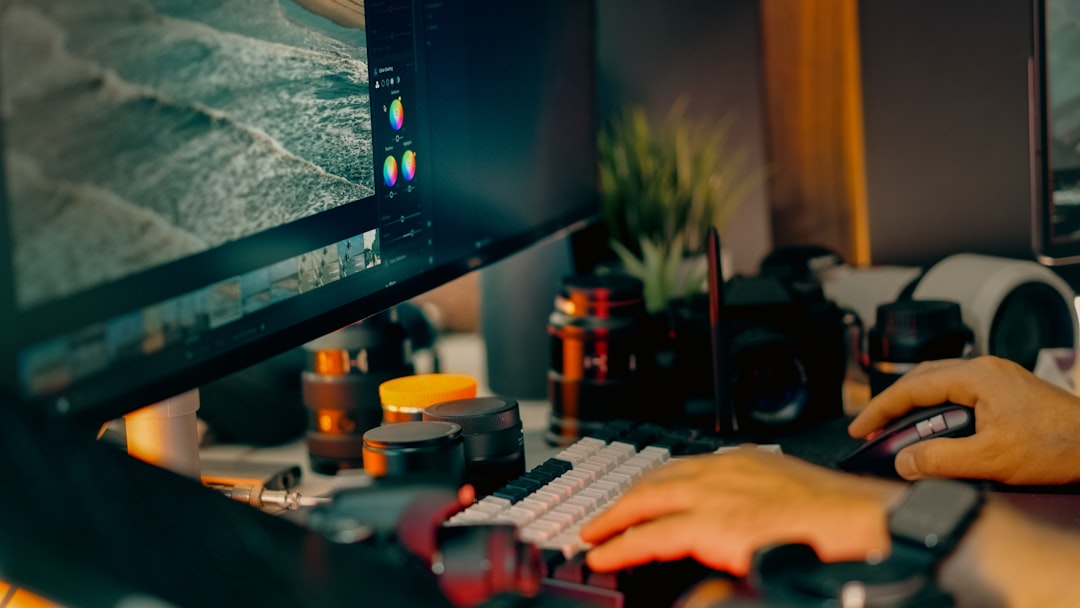
2. Make cleaner cuts with intent
The best cuts often go unnoticed. They move the viewer forward without drawing attention to themselves. A bad cut feels like a hiccup.
Use standard cuts when two shots flow naturally. Use jump cuts to remove pauses, mistakes, or filler. Use match cuts when one shape, action, or movement connects to the next shot. Use cutaways to hide edits, show detail, or add context.
For talking-head videos, cut on natural pauses or changes in thought. If someone says, “So, the first step is…” then pauses for two seconds, cut the pause out. The viewer does not need to wait with them.
For action or movement, cut during the motion, not after it ends. A hand reaching for a cup can start in one shot and finish in another. This feels smooth because the brain follows the action.
3. Fix pacing before adding polish
Pacing is the heartbeat of your video. Too slow, and viewers leave. Too fast, and they feel lost. The goal is not constant speed. The goal is controlled speed.
Short-form videos usually need tighter pacing. Remove every pause that does not add tension, humor, or meaning. Long-form videos need more breathing room, but not rambling. Expect to waste time on the first pass; trimming five seconds here and three seconds there feels tiny, then suddenly the video is two minutes shorter and much better.
Try this simple pacing test:
- Watch the edit without touching the keyboard.
- Mark every moment where your attention drops.
- Cut or shorten those sections.
- Watch again with fresh ears the next day.
Also vary shot length. A sequence of identical five-second clips feels robotic. Mix quick cuts with longer holds. Let strong moments breathe. Cut weak moments fast.
4. Treat audio like half the picture
Bad audio ruins good footage. Viewers will forgive a slightly soft image. They will not forgive harsh, muddy, or uneven sound.
Start by cleaning dialogue. Reduce background noise, balance volume, and cut mouth clicks or long breaths when needed. Keep voice levels steady. For most online video, dialogue often sits around -12 dB to -6 dB, with peaks below clipping.
Music should support the edit, not fight it. Lower music under speech. Raise it during montages, titles, or emotional pauses. If the music has vocals, be careful. Lyrics can clash with narration.
Sound effects can make cuts feel more physical. A soft whoosh, camera click, riser, impact, or room tone can help. Do not overdo it. Nothing screams “beginner edit” faster than a whoosh on every single transition.
- Use room tone to fill awkward silent gaps.
- Fade audio clips to prevent pops and clicks.
- Match ambience between shots from the same scene.
- Duck music when dialogue begins.
It drives me crazy when editing apps hide basic audio controls three menus deep. If lowering a music track takes 20 seconds more than it should, create presets or keyboard shortcuts. Small workflow annoyances add up.
5. Use transitions only when they mean something
A hard cut is often the best transition. It is clean, fast, and invisible. Fancy transitions can help, but only when they match the video’s tone.
Use cross dissolves for time passing, memory, softness, or emotional shifts. Use dip to black for endings, scene breaks, or serious pauses. Use whip pans when camera motion connects two shots. Use speed ramps for sports, travel, dance, or action clips.
The catch is that transition packs can make every edit look the same. If five creators use the same zoom spin preset, viewers notice. Keep transitions simple unless the project calls for flash.
6. Color correction comes before color grading
Many beginners jump straight to cinematic looks. Slow down. First, fix the image. That is color correction. Then add style. That is color grading.
Start with exposure. Make sure faces are visible and not blown out. Then adjust white balance. Skin should not look blue, green, or orange unless that is intentional. Match shots from the same scene so they feel like they belong together.
After correction, add a grade. This could be warm and soft for lifestyle content, cool and contrasty for tech, or muted for drama. Use LUTs carefully. A LUT is not magic. It is a starting point, and sometimes a pretty bad one.
Helpful color checks include:
- Skin tones: keep people looking natural.
- Contrast: avoid flat gray images unless planned.
- Saturation: rich color is good; neon skin is not.
- Shot matching: keep brightness and color consistent.
7. Use effects to guide attention
Effects should help the viewer see what matters. They should not distract from the content.
Use text overlays for names, key points, prices, steps, or stats. Keep them short. A viewer should understand on-screen text in one glance. Use motion graphics to explain ideas, show progress, or add energy. Use blur to hide private data, license plates, or clutter.
Zooms can add focus, especially in tutorials or comedy edits. A slow push-in can increase intensity. A quick punch-in can highlight a reaction. Just avoid constant zooming. It gets tiring fast.
For professional results, keep effects consistent. Use the same font family, colors, title style, and animation speed throughout the video. Random styles make the edit feel patched together.
8. Build a smooth workflow
A clean workflow saves hours. Organize footage before editing. Rename folders. Sort clips by scene, camera, audio, graphics, and music. Sync audio early. Create a rough cut, then a fine cut, then sound, color, graphics, and export.
A simple order works well:
- Import and organize all media.
- Select the best takes before building the timeline.
- Create the rough cut for structure.
- Tighten pacing with sharper trims.
- Clean audio and mix music.
- Correct and grade color.
- Add graphics and effects.
- Export and review on phone, laptop, and headphones.

9. Export with the viewer in mind
Export settings affect quality, file size, and playback. For most web videos, H.264 is a safe format. Use 1080p for standard content and 4K when detail matters or when platforms compress heavily.
Check aspect ratio before export. Use 16:9 for YouTube, 9:16 for TikTok, Reels, and Shorts, and 1:1 or 4:5 for some feed posts. Captions also help. Many people watch without sound, especially on mobile.
Final editing checklist
- Does the first five seconds give viewers a reason to stay?
- Are weak pauses, repeats, and filler removed?
- Is dialogue clear on headphones and phone speakers?
- Do transitions feel natural, not random?
- Are colors consistent between shots?
- Do effects support the message?
- Does the export match the platform?
Great editing is mostly subtraction. Remove friction. Remove confusion. Remove anything that slows the viewer without reward. Once the cut works, the polish finally has something worth enhancing.