Hello fellow website owner! If you’re reading this, you’re probably on a journey to enhance your online presence and secure your website. Just like you, I started my digital journey with a VPS Amsterdam hosting, which served me well in the beginning. However, as my business expanded and my website traffic grew, I decided to take the leap and upgrade to a dedicated server for more control, better performance, and increased security.
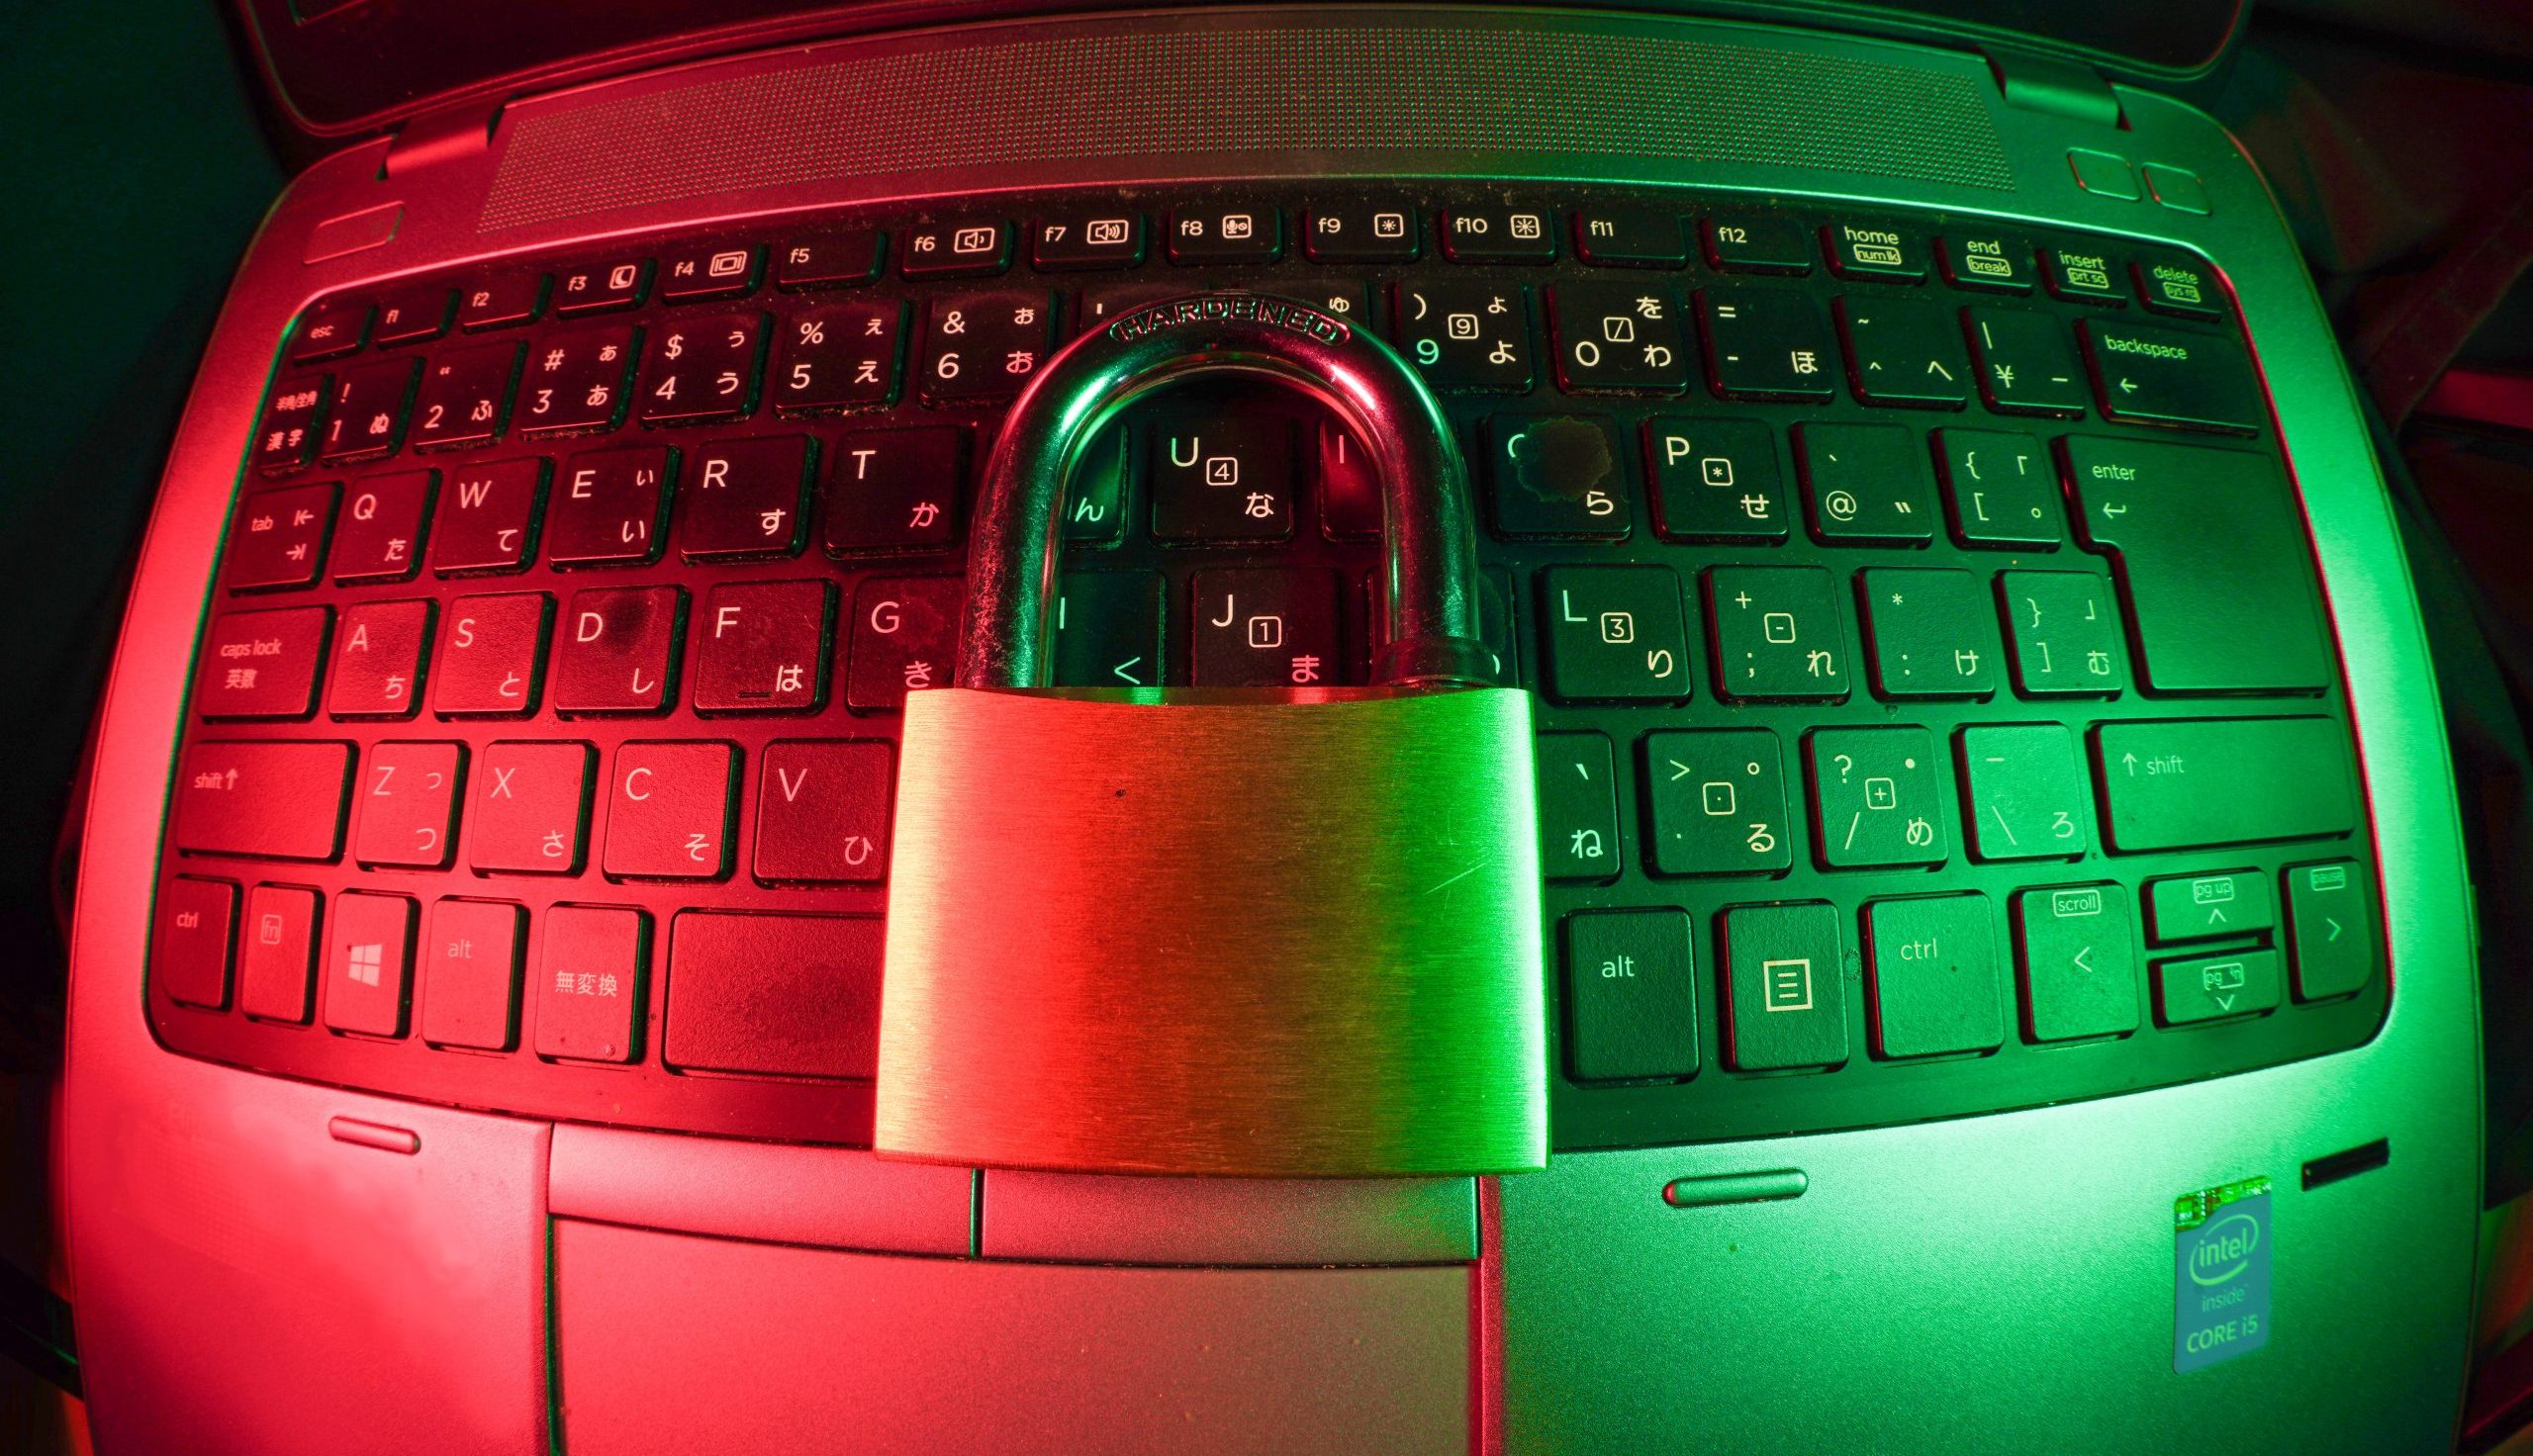
In this guide, I’ll walk you through the process of installing an SSL certificate on your dedicated server hosting in Amsterdam. With an SSL certificate, you’ll ensure encrypted connections between your website and your visitors, boosting their trust and your search engine ranking. Let’s get started!

Step 1: Choose Your Dedicated Server Hosting Provider
Before we dive into the technical details, let me share my dedicated server hosting provider in Amsterdam: VSYS Host. Their powerful infrastructure and reliable support made my transition smooth. If you’re still on a VPS and considering an upgrade, take a look at their VPS Amsterdam options.
Step 2: Access Your Dedicated Server
Log in to your dedicated server’s control panel or use SSH to access it. If you’re new to dedicated servers, don’t worry – the control panel provided by your hosting company should be user-friendly.
Step 3: Generate a Certificate Signing Request (CSR)
- In your server’s control panel, locate the SSL section.
- Generate a CSR by providing your domain name, company information, and location details.
- Save the CSR and private key to a secure location on your server.
Step 4: Purchase or Obtain an SSL Certificate
You can purchase an SSL certificate from a trusted Certificate Authority (CA) or use a free option like Let’s Encrypt. If you’re looking for a commercial certificate, your hosting provider might offer them at a competitive price.
Step 5: Install the SSL Certificate
- In your control panel, find the SSL section and locate the option to install a certificate.
- Paste the contents of your SSL certificate into the designated field.
- Upload the private key generated during the CSR process.
- Depending on the CA, you might need to complete an email validation or DNS record verification.
- Once verified, your SSL certificate will be installed.
Step 6: Update Your Website Configuration
- If your website uses Apache, edit your virtual host configuration:
<VirtualHost *:443>
ServerName yourdomain.com
SSLEngine on
SSLCertificateFile /path/to/your/ssl_certificate.crt
SSLCertificateKeyFile /path/to/your/private_key.key
</VirtualHost>
- For Nginx, update your server block configuration:
server {
listen 443 ssl;
server_name yourdomain.com;
ssl_certificate /path/to/your/ssl_certificate.crt;
ssl_certificate_key /path/to/your/private_key.key;
}
- Don’t forget to restart your web server for changes to take effect.
Step 7: Test Your SSL Installation
Use online tools like SSL Labs to verify your SSL configuration. This step ensures your visitors will have a secure browsing experience.
Step 8: Set Up Automatic Renewal
If you used Let’s Encrypt, their certificates expire every 90 days. Set up a cron job to automatically renew your certificate.
Elevate Your Website’s Security and Trust
Congratulations, you’ve successfully installed an SSL certificate on your dedicated server hosted in Amsterdam! By taking this step, you’re enhancing your website’s security, boosting visitor trust, and contributing to better search engine rankings. Your journey from VPS Amsterdam to dedicated server hosting has set you on a path of growth and success in the digital world. Cheers to your online endeavors!